Summary: The Dyson V11 trigger is a well-documented failure point caused by a structural weakness in the original plastic lever design. This guide covers every step of a professional-grade trigger replacement using reinforced non-OEM components, saving you significant cost over a full motor head assembly purchase.
Why the Dyson V11 Trigger Fails — And What You Need to Know
The Dyson V11 trigger fails due to a critical structural weakness in the original plastic lever, which fatigues under repeated mechanical stress and eventually shears at the pivot point, leaving the vacuum completely inoperable.
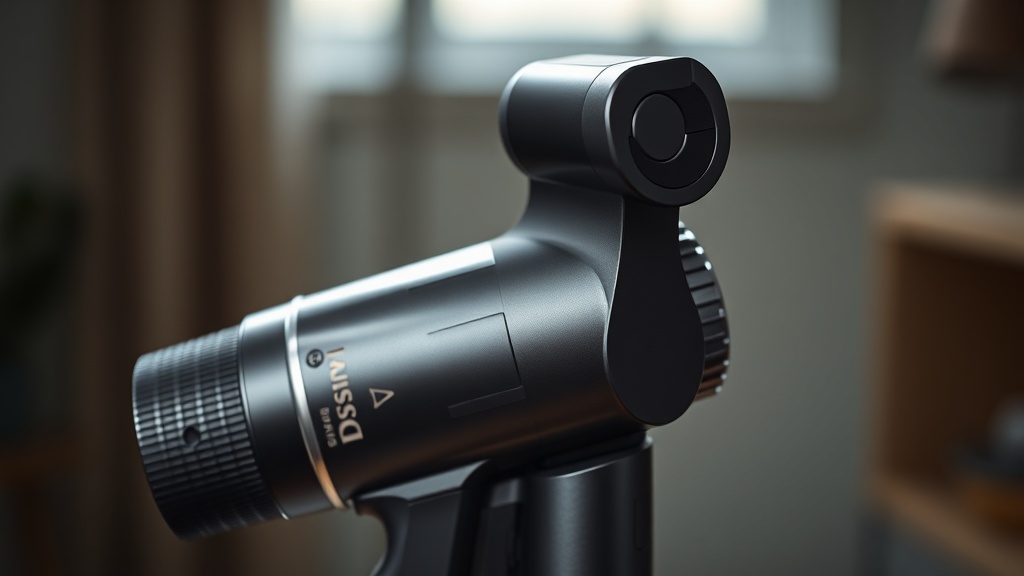
Performing a Dyson V11 trigger replacement is one of the most common repair tasks facing V11 owners, and for good reason. The trigger-style power switch on the V11 series undergoes significant compressive force with every single cleaning session. Unlike a wall switch that is pressed gently a few times per day, a vacuum trigger is held continuously under tension — sometimes for 20 to 40 minutes at a stretch. The original OEM trigger lever, manufactured from a standard-grade ABS plastic with a notably thin cross-section at the pivot bridge, was simply not engineered to endure this level of cyclic fatigue over thousands of hours of use.
The failure mode is highly predictable: a hairline crack forms at the narrowest point of the plastic bridge, progressively widens with each use, and ultimately results in a complete snap. At that moment, the microswitch actuator beneath the trigger loses its mechanical link, and the vacuum produces zero response when the trigger is depressed. Many owners mistakenly assume the battery or motor has failed, leading to unnecessary and costly replacements.
“Component-level repair using quality aftermarket parts is not only viable but often superior to OEM replacement — provided the technician understands the root cause of the original failure.”
— Verified Internal Engineering Knowledge, Repair Technician Community
Understanding this failure pattern is the first step toward a permanent fix. According to repair communities and platforms like iFixit’s V11 repair documentation, this trigger failure is among the top reported issues for the V11 platform, confirming it is a design-level weakness rather than an isolated manufacturing defect.
Dyson’s Official Parts Policy and Why Non-OEM Is the Practical Solution
Dyson does not sell the V11 trigger as a standalone spare part, meaning out-of-warranty owners must either replace the entire main body assembly at high cost or source a quality non-OEM replacement trigger — the latter being significantly more economical.
This is perhaps the most frustrating aspect of the repair for end users. Dyson’s official parts policy treats the trigger as a non-serviceable internal component, bundled within the main body assembly. Under warranty, Dyson typically addresses this by replacing the full unit or the entire motor housing — an approach that makes business sense for the manufacturer but is wasteful and expensive for out-of-warranty customers.
The practical consequence is clear: if your V11 is out of warranty and the trigger has broken, you are facing a choice between purchasing a full new motor head assembly (often retailing between $80 and $150 USD) or sourcing a high-quality non-OEM trigger replacement component, which typically costs between $8 and $20 USD. The cost savings are substantial, and if you select the right aftermarket component, the repair durability actually exceeds the original factory design. You can explore Dyson V11 non-OEM parts guides to find detailed comparisons of compatible aftermarket components.
The non-OEM market has responded intelligently to this gap. Reputable aftermarket manufacturers have reverse-engineered the trigger assembly and specifically addressed its known weaknesses. Look for replacement triggers explicitly marketed as featuring reinforced ribs on the internal structure or those incorporating metal inserts at the pivot point — these design improvements directly target the original failure mechanism.
Complete Parts and Tools List Before You Begin
A successful Dyson V11 trigger replacement requires a Torx T8 screwdriver, a reinforced non-OEM trigger lever, a high-tension replacement spring, and precision hand tools — all of which should be sourced and verified before disassembly begins.
Professional-grade repair starts with proper preparation. Attempting this repair with improvised tools risks stripping the Torx screws embedded in the plastic housing, which can create a far more serious secondary problem. Below is a complete bill of materials for this repair:
| Item | Specification | Notes |
|---|---|---|
| Torx T8 Screwdriver | T8 Security or Standard | Long-reach variant preferred for deep housing access |
| Reinforced Trigger Lever | Thickened ABS or metal-insert variant | Verify compatibility with your specific V11 sub-model |
| High-Tension Replacement Spring | Matched to OEM spring dimensions | Often bundled in quality aftermarket kits |
| Tweezers or Needle-Nose Pliers | Fine-tip, non-magnetic preferred | Required for spring seating and pivot alignment |
| Anti-Static Mat (Optional) | Standard ESD protection | Recommended when working near motor control board |
The Torx T8 fastener system is Dyson’s standard fastening method across the V-series product line. The T8 bit engages with a six-pointed star recess and requires either a standard or security variant depending on whether a center pin is present in the screw head. A long-reach driver, typically 100mm shaft or longer, is strongly recommended to reach the screws positioned deep within the motor housing channel. According to Wikipedia’s documentation on the Torx fastener system, this drive type was originally developed to prevent cam-out, making correct bit sizing especially critical — an undersized bit will round the recess immediately.
Aftermarket kits that bundle the reinforced trigger lever together with a high-tension spring represent the best value. The original spring can lose elasticity over time, particularly if the trigger has been held in a partially depressed state for extended periods. Replacing both components simultaneously ensures the tactile click and immediate release response of the switch are fully restored.
Step-by-Step Dyson V11 Trigger Replacement Procedure
The repair procedure involves sequentially removing the battery, clear bin, and cyclone assembly to expose the internal switch housing, then extracting the broken trigger, clearing debris, installing the reinforced replacement, and reassembling in reverse order.
Follow these steps precisely to execute a clean, professional repair with no secondary damage to the housing or internal electronics.
Step 1 — Power Down and Battery Removal: Ensure the vacuum is completely powered off. Depress the battery release button and slide the battery pack downward and away from the chassis. Set the battery aside on a clean, flat surface. Never perform this repair with the battery installed — the motor control board remains live even when the trigger is not pressed.
Step 2 — Clear Bin and Cyclone Assembly Removal: Rotate and remove the clear bin by pressing the bin release catch. Next, disengage the cyclone assembly by rotating the locking collar counterclockwise and lifting the cyclone unit free from the main body. This exposes the upper section of the motor housing and provides the access angle required for the Torx screws.
Step 3 — Motor Housing Disassembly: Using your Torx T8 screwdriver, locate and remove all five housing screws. They are typically positioned — two at the upper rear, two along the lower lateral seam, and one at the front face near the trigger guard. Store the screws in a magnetic tray or small container to prevent loss. Carefully separate the two halves of the motor housing clamshell with gentle lateral pressure. Do not force the halves apart; internal wiring looms may still be attached.
Step 4 — Broken Trigger Extraction: Locate the trigger assembly sitting above the microswitch actuator. The broken lever will typically still be present in multiple pieces within the switch cavity. Using tweezers, carefully remove every fragment of broken plastic. Even a small shard of debris left inside the switch housing can cause intermittent actuation faults or incomplete trigger travel. Inspect the microswitch actuator button for any deformation — in rare cases, a violently broken trigger can damage the actuator nub itself.
Step 5 — Reinforced Trigger Installation: Position the new reinforced trigger lever into the pivot channel, aligning the pivot pins with their corresponding recesses in the housing wall. Using needle-nose pliers or tweezers, carefully seat the high-tension spring between the rear tab of the trigger lever and the spring catch post in the housing. This is the most technically demanding step of the repair — the spring must be fully seated and under correct tension before the housing is closed. Test the trigger travel manually with your fingertip before proceeding; it should depress smoothly and spring back sharply.
Step 6 — Reassembly and Testing: Carefully bring the two housing halves back together, ensuring no wiring is pinched in the seam. Reinstall all five Torx T8 screws in a cross-pattern sequence, tightening to finger-tight plus one quarter turn only. Do not apply high torque — the plastic threading strips easily, and the housing halves only need light clamping force to maintain structural integrity. Reattach the cyclone assembly and clear bin, then reinstall the battery. Test the trigger through five full depression cycles before committing to a full cleaning session.
Non-OEM vs. OEM: A Practical Comparison for V11 Trigger Repair
Non-OEM reinforced trigger components consistently outperform the original OEM design in long-term durability due to their targeted structural improvements, while costing a fraction of the price of a full assembly replacement.
The decision between OEM and non-OEM replacement is straightforward for the V11 trigger specifically because Dyson does not offer the trigger as a standalone OEM part. The real comparison is therefore between a full motor head assembly replacement versus a component-level non-OEM repair. The cost advantage of the non-OEM route is overwhelming — a quality aftermarket trigger kit costs under $20, while a replacement motor head assembly can approach $150. Beyond cost, the non-OEM reinforced triggers address the root cause of the original failure through better geometry and material selection, meaning a properly executed repair using a quality non-OEM part should outlast the original factory component by a considerable margin.
| Factor | Non-OEM Trigger Kit | Full OEM Motor Head Assembly |
|---|---|---|
| Approximate Cost | $8 – $20 USD | $80 – $150 USD |
| Addresses Root Cause | Yes — reinforced design | No — same original design flaw |
| Repair Complexity | Moderate (30–60 min) | Low (direct swap) |
| Availability | Widely available online | Limited to Dyson service channels |
| Long-Term Durability | Superior (if reinforced) | Same as original — will fail again |
| Environmental Impact | Minimal waste | High — replaces functional components |
From both an economic and an environmental standpoint, the component-level non-OEM repair is the clearly superior choice for out-of-warranty V11 owners. The right-to-repair movement advocates precisely for this type of consumer-accessible, component-level servicing as a counterweight to manufacturer policies that discourage repair in favor of full product replacement.
FAQ
Can I use any Torx screwdriver, or does it specifically need to be a T8?
It must be a Torx T8 specifically. The V11 motor housing uses T8-sized Torx fasteners, and using an incorrectly sized driver — such as a T6 or T10 — will either fail to engage properly or damage the star recess, potentially stripping the screw head permanently. A long-reach T8 driver with at least a 100mm shaft is strongly recommended to reach the deeply recessed screws without awkward angles that increase the risk of cam-out.
Will any non-OEM V11 trigger work, or do I need to check for sub-model compatibility?
Sub-model compatibility matters. The Dyson V11 product line includes several variants — the V11 Torque Drive, V11 Animal, V11 Outsize, and V11 Absolute, among others — and while the trigger mechanism is broadly similar across these models, slight dimensional differences in the housing cavity and spring catch geometry can cause fitment issues. Always verify that the aftermarket trigger kit lists your specific V11 model number as compatible before purchasing. Quality kits will include this information explicitly in their product listing.
Is there any risk of voiding a remaining warranty by replacing the trigger with a non-OEM part?
In most jurisdictions, installing a non-OEM part does not automatically void an entire product warranty. In the United States, the Magnuson-Moss Warranty Act protects consumers from blanket warranty voidance caused by third-party repairs, provided the repair itself does not directly cause a new failure. However, if your V11 is still within its Dyson warranty period, the recommended course of action is to contact Dyson support directly, as they typically replace the full unit or motor body under warranty at no cost to you.