How to Clean Shark Vertex Duo Clean Roller Bearings Without Breaking Them
The first time I pulled apart a Shark Vertex DuoClean roller brush assembly, I watched a homeowner snap the end cap clean off because nobody told them about the locking tab. Twenty years of field work, and that moment still sticks with me — because it’s entirely preventable. If you want to clean Shark Vertex Duo Clean roller bearings without breaking anything, you need the right sequence, the right tools, and zero impatience.
Let’s get into it.
| Method | Tools Needed | Risk Level | Cleaning Depth | Best For |
|---|---|---|---|---|
| In-place rinse (brush still installed) | Warm water, soft brush | Low | Surface only | Weekly maintenance |
| Brush removal + manual wipe | Coin, microfiber cloth | Low-Medium | Moderate | Monthly deep clean |
| Full bearing disassembly | Flathead, pick tool, isopropyl alcohol | High if rushed | Full bearing access | Grinding noise or resistance |
| Compressed air flush | Canned air or compressor (low PSI) | Medium | Debris removal only | Dry debris, lint buildup |
Use that table as your decision point. If you’re hearing grinding, go straight to full disassembly. If it’s just sluggish, the brush removal + manual wipe is usually enough.
Why Shark Vertex DuoClean Roller Bearings Fail (And What You’re Actually Dealing With)
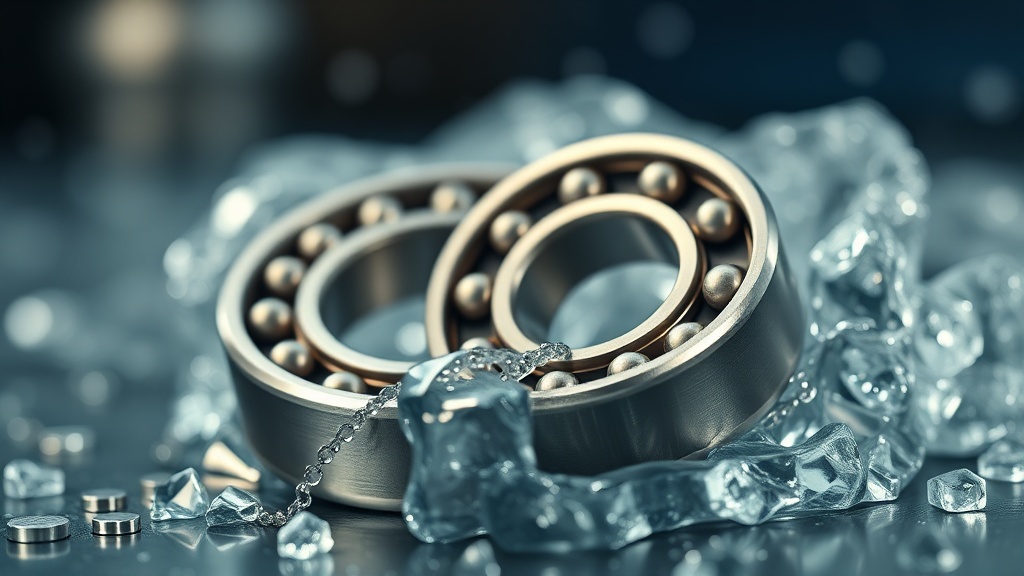
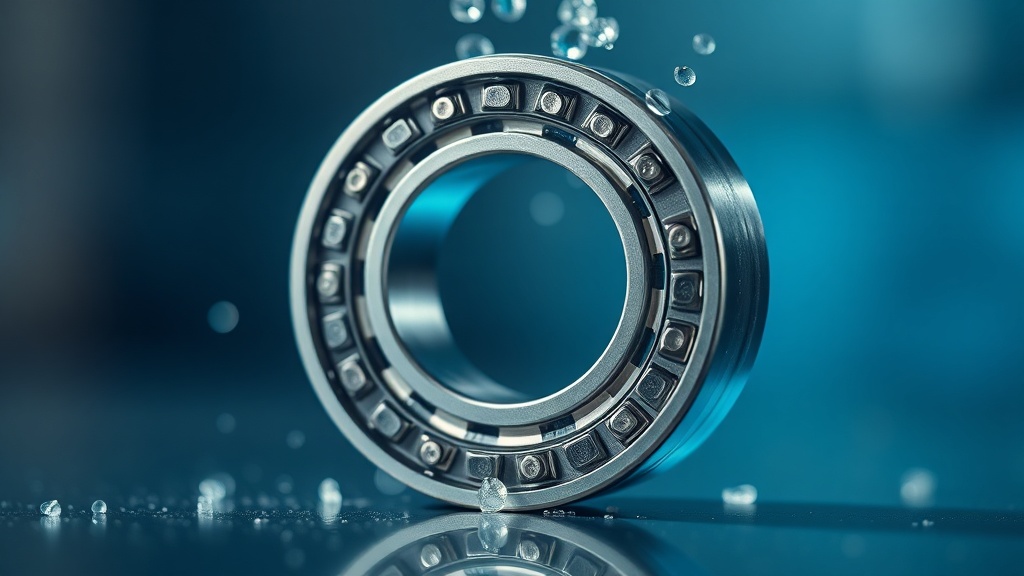
The Shark Vertex DuoClean uses two distinct brush rolls — a soft front roller and a bristle rear roller — each riding on plastic-housed bearings that are more fragile than they look. Hair, grit, and debris pack into these bearing housings and cause drag that burns out the motor over time.
Here’s the thing: most people don’t even know the bearings are a serviceable component. They assume the whole brush roll is a throw-away unit. That’s wrong — and expensive thinking.
The bearing housings on the Vertex DuoClean are snap-fit plastic caps, not threaded. They compress onto the brush shaft using a small internal locking tab. That tab is made of the same plastic as the cap. Apply rotational force instead of straight axial pull, and it snaps. Done. Now you’re ordering parts.
Real talk: I’ve seen this failure mode on three units brought to me by people who watched YouTube tutorials that never mentioned the locking tab. Those videos aren’t wrong exactly — they’re just incomplete in a way that costs you money.
Tools You Need Before You Start
You don’t need a full toolkit — but skipping even one of these items raises your breakage risk significantly.
- Flat-head screwdriver (small, 3mm or less)
- Plastic pry tool or old credit card
- Isopropyl alcohol (90% or higher)
- Compressed air or canned air
- Microfiber cloths (lint-free)
- Small pick tool or dental pick
- Coin (for brush roll release screw — yes, a coin)
That’s it. No power tools. No WD-40 — and I’ll explain exactly why WD-40 is the wrong call in a minute.
How to Clean Shark Vertex Duo Clean Roller Bearings Without Breaking the Housing
This is the full, step-by-step bearing cleaning sequence — the one that prevents the plastic snap-cap failure that sidelines most DIY attempts before they even start.
Step 1 — Disconnect power completely. Unplug the vacuum and remove the battery if applicable. Non-negotiable. Brush rolls on DuoClean vacuums can activate with residual power in the capacitor circuit.
Step 2 — Flip the head unit face-down on a clean, padded surface. A folded towel works. You want zero scratching on the plastic floor plate.
Step 3 — Remove the brush roll access plate. On the Vertex, this is a coin-slot screw, quarter-turn counterclockwise. Don’t use a power driver — you’ll strip the soft plastic head.
Step 4 — Slide both brush rolls out axially. Straight pull. No rotation. Wiggle gently if there’s resistance, but do not twist. The bearing cap is on the right-hand side of each roller (when looking at the head from the bottom). This is the side you must protect.
Step 5 — Inspect the bearing cap before touching it. Look for the small tab slot on the circumference of the cap. That slot is your release point. Insert your plastic pry tool or small flathead into that slot — never pry from the flat face of the cap.
Step 6 — Press inward at the tab location while pulling the cap axially outward. Not rotating. Pressing inward at the tab while pulling straight. The cap will release cleanly with about 3–4 lbs of force. If it’s taking more than that, you’re at the wrong spot on the circumference.
Step 7 — Once the bearing is exposed, use compressed air to blow out debris first. Do this before any liquid. Wet debris packs tighter and becomes harder to remove.
Step 8 — Apply 90%+ isopropyl alcohol to a lint-free cloth or cotton swab. Wipe the bearing race and the shaft end. Isopropyl flashes off quickly, leaves no residue, and doesn’t swell the plastic housing the way water can.
That said, if there’s visible grit packed inside the bearing race itself, use a dental pick to break it loose mechanically before the alcohol wipe. Trying to dissolve packed debris with solvent alone just redistributes it.
Step 9 — Dry thoroughly, reassemble cap straight-on until you hear the click. One click. That’s the tab re-engaging. No click means it’s not seated and it will come apart the first time the roller spins under load.
Check out the iFixit Shark Flex DuoClean troubleshooting guide for additional disassembly reference diagrams — it’s one of the cleaner teardown resources available for this platform.
The WD-40 Problem — Why That Common Advice Is Flat-Out Wrong
Stop reading any guide that tells you to lubricate Shark DuoClean roller bearings with WD-40. It’s one of the most repeated bad recommendations in vacuum maintenance, and here’s exactly why it backfires.
WD-40 is a water-displacement solvent, not a lubricant. Short-term, it feels like it’s working — the roller spins freely. But WD-40 leaves a residue that becomes sticky as it oxidizes, usually within 30–60 days in a warm environment. That sticky residue then acts as a magnet for the exact fine debris and hair that caused your bearing drag in the first place.
Worse, WD-40 degrades the polycarbonate-type plastics used in Shark’s bearing housings. I’ve pulled apart units where the cap had become brittle and discolored — classic signs of petroleum solvent exposure over time.
If you need lubrication on a cleaned bearing (usually you don’t on these plastic-housed units), use a dry PTFE spray and let it cure before reassembly. End of story.
For those who want to go deeper into the technical standards behind appliance maintenance and certification, the EPA Section 608 Technician Certification requirements outline the kind of systematic diagnostic thinking that applies beyond just refrigerant handling.
Here’s What I’ve Seen Go Wrong
Twenty years of pulling apart machines gives you a short, brutal list of the mistakes that show up over and over again.
Applying rotational torque to the bearing cap is the number one break point. I cannot stress this enough. Straight pull only.
Using water to clean the bearing housing — even small amounts. The housing is not sealed. Water wicks into the cap cavity and causes corrosion on the steel bearing components inside the plastic housing, which then causes binding worse than the original debris contamination.
Reassembling without confirming the click. A bearing cap that’s 90% seated will hold for about one cleaning cycle, then fail mid-use — usually sending the bearing across the room and leaving you with a bent brush shaft.
In practice, most people who “break” these bearings didn’t actually break the bearing itself — they broke the plastic snap cap that retains it. That cap is available as a replacement part, but prevention is faster and cheaper.
For anyone who wants to build a solid mental framework for appliance diagnostics beyond just this specific repair, I’d recommend browsing structured troubleshooting logic guides — the systematic approach matters as much as the individual steps.
Maintenance Schedule to Prevent Bearing Damage in the First Place
A consistent maintenance schedule is what separates a Shark Vertex that lasts eight years from one that’s grinding at eighteen months.
- After every 3–4 uses: Remove brush rolls, cut away hair wraps, wipe bearing ends with a dry cloth.
- Monthly: Full brush roll removal, compressed air to bearing caps, visual inspection of snap-fit retention.
- Every 6 months: Full bearing cap removal, isopropyl cleaning of bearing race, inspection for plastic fatigue cracks on cap.
- Annually: Consider replacing brush rolls if bristles show more than 20% deformation — worn bristles create more debris drag on bearings than clean ones.
Practically speaking, most households need the monthly cleaning. Homes with pets or carpet need it every two weeks minimum. Hair wraps are silent killers on these bearing assemblies.
FAQ
Can I use water to clean the Shark Vertex DuoClean roller bearings?
No. The bearing housing is not waterproof. Water wicks into the cap cavity, promotes corrosion on the internal steel bearing components, and can swell the plastic housing enough to cause binding. Use 90%+ isopropyl alcohol only — it flashes off cleanly and leaves no residue.
Why does my Shark Vertex roller make a grinding noise after cleaning?
Grinding after a cleaning almost always means one of three things: the bearing cap wasn’t fully re-seated (check for the audible click), residual debris is still packed in the bearing race that the cleaning didn’t fully remove, or — less commonly — the bearing itself is worn and needs replacement. Remove the cap again, inspect the race under good lighting, and clean more aggressively with a dental pick if needed.
How do I know if I’ve broken the bearing cap vs. just having it unseated?
If the cap physically separates from the brush roll housing and you can see a clean fracture line across the plastic — that’s a break. If it simply won’t click back into place but has no visible damage, it’s likely misaligned. Re-orient the cap so the tab slot aligns with the housing receiver channel and try again. A broken cap needs replacement; a misaligned one just needs patience.