Shark Navigator Loss of Suction Base Hose Split Tape Repair Hack: The Field-Tested Fix That Actually Works
The first time I encountered a split base hose on a Shark Navigator, I was at a rental property where the tenant had been living with 40% suction loss for three months, blaming “a weak motor.” I pulled the machine apart in under ten minutes and found a longitudinal crack running six inches down the flexible base hose — and someone had already tried wrapping it in electrical tape that had peeled halfway off. That single failure point was robbing the entire vacuum of its pressure differential, and the fix cost less than two dollars. If you’re dealing with the Shark Navigator loss of suction base hose split tape repair hack, this article breaks down exactly what’s happening mechanically, what quick patches hold versus fail, and how to do the permanent repair correctly.
Why the Shark Navigator Base Hose Fails in the First Place
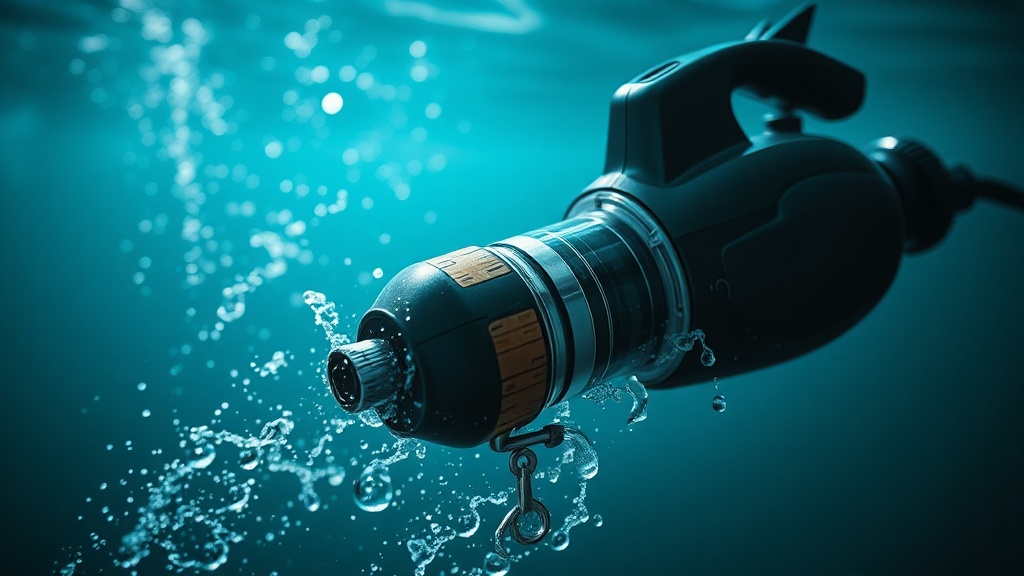
The base hose on Shark Navigator models is a flexible corrugated tube connecting the floor nozzle assembly to the main body — it flexes thousands of times per cleaning cycle, cycles through temperature swings, and accumulates ozone degradation from the motor’s electrical field. The failure mode here is fatigue cracking, not impact damage. The plastic polymer used in these hoses becomes brittle over 18-36 months of regular use, especially at the stress concentration points near the molded end fittings where flex radius is most constrained. On the NV352, NV360, and NV682 models I’ve worked on most, the split consistently appears within two inches of the lower fitting or along the inner curve of the hose’s natural bend — exactly where tensile stress peaks.
The hose doesn’t fail suddenly. You get a gradual suction loss over weeks. Most people chase the wrong culprits — clogged filters, full dust cups, brush roll jams — before they find the crack.
The tradeoff is that a visually small crack, even one you can barely see, can drop airflow by 30-50%. Vacuum systems are pressure-differential machines. Any air leak between the suction source and the cleaning head means the motor is pulling in ambient air instead of floor-level debris-laden air. From a systems perspective, a 3mm crack is as damaging as pulling your intake completely off.
I’ve seen this in the field with a school custodian who’d replaced the filters four times in six months trying to fix “weak suction” on a Navigator Lift-Away. When I got there, I ran my hand along the base hose with the machine running and felt airflow immediately at the mid-hose seam. The hose had split along a molding seam — not a fatigue crack — and it had been there since nearly new. One repair, problem solved permanently.
The Shark Navigator Loss of Suction Base Hose Split Tape Repair Hack: What Works and What Doesn’t
The tape repair hack is widely shared online, but most people get it wrong because they don’t understand what tape is actually doing in this application — it’s not just covering the crack, it’s re-establishing an airtight pressure seal over a flexible, cyclically-stressed substrate. Electrical tape fails because it lacks the adhesion strength on flexible polyethylene and loses tack from the heat generated near the motor housing. Duct tape fails because it’s not conformable enough at the corrugation valleys, leaving micro-gaps. Gorilla tape performs better but still degrades in 6-8 weeks under flex cycling. The correct tape for a temporary field repair is self-amalgamating silicone tape — no adhesive layer, bonds to itself under compression, remains flexible to -60°F, and tolerates continuous flex without delaminating.
To be precise: self-amalgamating tape (also called self-fusing or rescue tape) works by molecular bonding between layers, not by adhesive. That means it doesn’t peel from the hose — it forms a unified silicone sleeve around it. For a crack under two inches, two overlapping wraps gives you a repair that’ll last months of regular use.
Key Insight from 20 Years in the Field: “The tape hack is a legitimate repair if you use the right tape and clean the surface correctly. A properly applied silicone self-amalgamating wrap on a Shark Navigator base hose will outlast a sloppy factory replacement install. Surface prep is 80% of the job — degrease the hose with isopropyl alcohol, let it dry fully, then apply tape under tension.”
The failure mode here with most DIY attempts is skipping surface prep. Vacuum hoses accumulate a fine film of dust-embedded oil from carpet treatments, pet dander oils, and floor wax. Tape applied over that film is bonding to contamination, not plastic — it’ll hold for a week and peel off. Wipe the entire repair area with 90%+ isopropyl alcohol and let it sit 60 seconds before you touch the tape.
This matters because getting the repair right the first time means you’re not tearing the machine apart again in three weeks wondering why suction dropped again.
Step-by-Step: Doing the Tape Repair Correctly
Before you start, unplug the vacuum — this is non-negotiable, not a formality. Remove the base hose by pressing the release tabs at both the floor nozzle end and the main body connection, then lay the hose flat in good light. Run your fingers along every inch of the hose surface with the machine unplugged, feeling for cracks, because a hose may have multiple failure points and you need to address all of them in one session. Mark any cracks with a paint pen or masking tape flag, and measure the total span you’ll need to cover so you cut your silicone tape to length before starting.
Clean the entire section from two inches before the first crack to two inches past the last one with isopropyl alcohol. Use a lint-free cloth — paper towels leave fiber residue. Let it air dry completely. Don’t blow on it; your breath introduces moisture.
Apply self-amalgamating silicone tape starting two inches before the crack. Stretch the tape to about 50% elongation as you wrap — that’s the tension needed for molecular bonding. Overlap each wrap by 50% of tape width. Continue two inches past the crack end. For a crack longer than two inches, reinforce with a second layer in the opposite wrapping direction.
Let it sit 30 minutes before reinstalling. Under the hood, the amalgamation process needs time to complete. Reinstall the hose, power the machine, and test suction against the back of your hand at the floor nozzle opening. You should feel strong, even pull with no air movement detectable at the repair site.
For step-by-step repair methodology grounded in right-to-repair principles, the community and resources at iFixit’s repair guides provide excellent complementary documentation on disassembly procedures for Shark Navigator variants.
The Permanent Fix: Replacing the Base Hose Correctly
The tape repair buys you time, but a split hose has already begun its structural failure cycle — micro-cracking at the repair edges will propagate outward over the coming months, and a second split often appears within inches of the repaired zone. The permanent fix is hose replacement, and it’s a 20-minute job that costs $8-15 for a genuine or high-quality aftermarket hose. Part numbers vary by Navigator model: for the NV352/NV356 series, the base hose assembly is part 113FFJ; for the NV682 series, it’s the 185FFJ. Always verify against your model number on the bottom of the machine before ordering.
The tradeoff between genuine OEM and aftermarket is real but manageable. OEM hoses fit first time with no trimming and carry Shark’s warranty. Quality aftermarket hoses from established suppliers are typically the same durometer polymer, often cheaper, but fitment can vary by a millimeter or two at the end fittings. I’ve installed both successfully. What I won’t install is the cheapest no-name option from auction sites — the polymer is wrong, it becomes brittle faster than the original.
I’ve seen this go wrong in the field specifically with a property manager who ordered three replacement hoses over 18 months from the same low-cost seller. Each one split within six months. When she finally used a quality part, the hose lasted past two years. The cost of the cheap approach was triple the cost of doing it right once.
For sourcing quality replacement parts with reliable fitment data, RepairClinic’s appliance parts database cross-references model numbers accurately and stocks hoses backed by a return guarantee — which matters when you’re ordering blind on a fitment you haven’t verified in hand.
Understanding your rights to repair your own appliances without voiding warranties unnecessarily is also worth knowing — the Repair Association’s right-to-repair resources cover consumer rights across appliance categories and explain why manufacturer parts monopolies are increasingly being challenged legislatively.
For deeper diagnostic logic when suction problems don’t trace back to the hose, check out our system troubleshooting logic guides — the pressure-differential diagnostic approach applies across vacuum systems, HVAC, and industrial suction equipment.
A properly installed replacement hose, snapped fully into both fittings until you feel the positive lock click, restores the Navigator to factory airflow performance — no guesswork, no degrading tape, no repeat repairs.
Your Next Steps
- Locate and confirm the crack today. Run the vacuum, press your palm slowly along the entire base hose length. You’ll feel air movement at the failure point. Mark it. If you find more than one, you’re doing the permanent replacement, not the tape fix.
- Get the right materials before you start. For the tape hack: 90%+ isopropyl alcohol, lint-free cloth, and genuine self-amalgamating silicone rescue tape (Rescue Tape or X-Treme Tape brands are field-proven). For permanent fix: verify your exact Navigator model number, look up the correct hose part number, and order from a supplier with a fitment guarantee.
- Test the repair under load before you call it done. Reinstall the hose, run the machine for five minutes, then re-check the repair site for air leaks with your hand. Suction at the floor nozzle should be strong and consistent. If you still feel air movement at the repair site, the crack is longer than you taped or there’s a second failure point — go back to step one.
Frequently Asked Questions
Can I use regular duct tape to fix a split Shark Navigator hose?
Duct tape will hold for a short period — sometimes a few days, sometimes two weeks — but it fails under the flex cycling and heat near the motor. The adhesive loses bond on flexible polyethylene hose material, especially after surface contamination accumulates. Self-amalgamating silicone tape is the correct material for this repair; it bonds to itself, not to the hose, so adhesive failure is not a factor.
How do I find the exact replacement hose part number for my Shark Navigator model?
Flip the machine over and find the model number sticker on the bottom of the main body — it starts with “NV” followed by three digits. Cross-reference that number on RepairClinic, SharkNinja’s own parts portal, or iFixit. Common models like the NV352 and NV682 have widely available parts. Never order by model name alone; the “Navigator” line spans dozens of sub-models with different hose geometries.
Will fixing the hose fully restore suction, or could there be another problem?
If the hose split was the only air leak, yes — restored suction will be immediate and obvious. However, if suction remains weak after a confirmed hose repair, check the foam and felt pre-motor filters (they should be cleaned monthly and replaced every 12 months), verify the dust cup is fully seated with its gasket intact, and inspect the post-motor filter. Multiple small leaks can compound into significant suction loss.