Test GE Dryer Heating Element Without Multimeter: DIY Trick That Actually Works
I’ve pulled apart more GE dryers than I can count — on loading docks, in laundry rooms, in basements that smelled like burnt lint and regret. The first time a homeowner called me because their dryer ran but produced zero heat, I watched them spend $180 on a service call just to confirm what a simple DIY test could have told them in ten minutes. That’s what pushed me to start teaching people the test GE dryer heating element without multimeter DIY trick — because not everyone owns a multimeter, and waiting isn’t always an option.
The underlying reason is simple: a heating element either completes a circuit or it doesn’t — and you can verify that without specialized tools.
| Test Method | Tools Needed | Accuracy | Time Required | Best For |
|---|---|---|---|---|
| Multimeter continuity test | Multimeter | Very High | 5 min | Technicians, DIYers with tools |
| Visual inspection (DIY) | Flashlight, eyes | Moderate | 10 min | Obvious breaks/burns |
| 9V battery continuity trick | 9V battery, two wires | High | 10–15 min | No multimeter available |
| Live voltage drop test | Voltmeter only | High | 15 min | Advanced DIYers |
| Swap test (known-good part) | Spare element | Definitive | 30–45 min | When you’re certain |
Why GE Dryers Lose Heat in the First Place
The most common reasons a GE dryer runs but produces no heat are an open heating element, a failed thermal cut-off fuse, or a faulty thermal fuse — and statistically, the thermal cut-off fuse is responsible about 22% of the time.
When you break it down, the GE dryer heat circuit is a series loop. Power flows from the terminal block through the thermal fuse, then through the heating element, then back through the thermal cut-off fuse. If any single component in that loop is open (broken), you get a spinning drum and cold air. That’s actually useful diagnostic information — it tells you the motor circuit is fine, and your problem is isolated to the heat circuit.
The heating element itself is a coiled nichrome wire stretched inside a metal housing. It fails in two ways: either the coil physically snaps from thermal fatigue, or it grounds out against the housing. Visual inspection catches the first type. The no-multimeter trick I’m about to walk you through catches both.
Don’t overlook the thermal fuse either. According to GE Appliances’ official troubleshooting documentation, thermal protection devices are the first line of defense in GE dryer heat circuits, and they’re designed to fail permanently once tripped — meaning they won’t reset, unlike a breaker.
Test GE Dryer Heating Element Without Multimeter: Step-by-Step
This is the method that works when you have no multimeter — using a standard 9-volt battery and two short jumper wires to check for continuity in the heating element before you spend a dollar on parts.
First, kill the power. Unplug the dryer from the wall outlet completely. I don’t care how experienced you are — this step is non-negotiable. A GE electric dryer runs on 240V, and that will kill you if you forget.
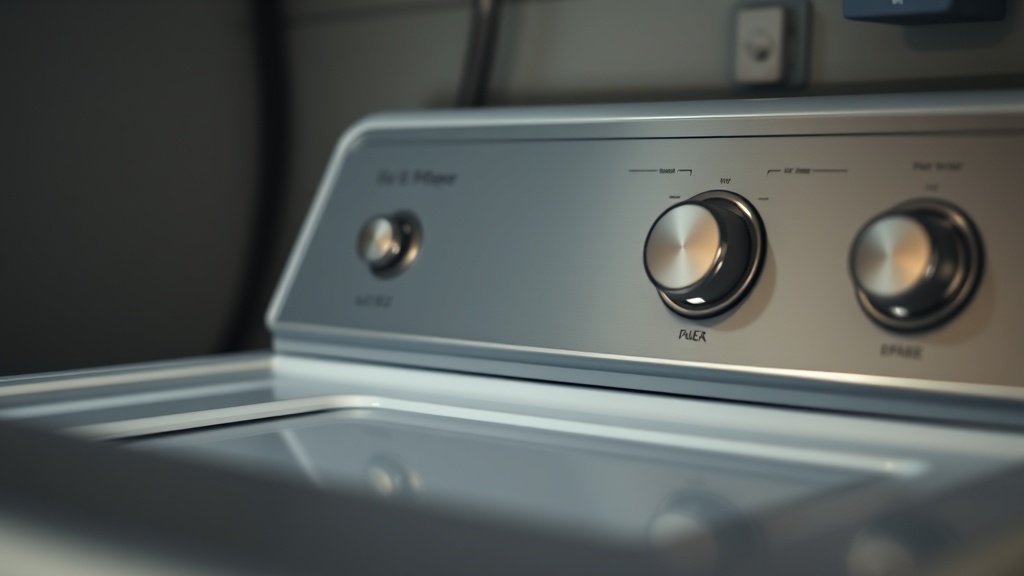
Once the machine is unplugged, remove the back panel using a Phillips screwdriver. On most GE residential dryers made after 2005, the heating element housing is a rectangular metal canister in the lower-right corner of the back compartment. Disconnect both wire leads from the element terminals — take a phone photo first so you remember which wire goes where.
Now here’s the no-multimeter trick that I’ve relied on in a pinch for years.
Strip about half an inch of insulation from each end of two short pieces of wire. Touch one wire to the positive terminal of a 9V battery and the other wire to the negative terminal. Bridge the free ends of those wires across the two terminals of the heating element. If the element coil is intact — meaning the circuit is complete — you’ll see a faint glow or feel slight warmth along the leads almost immediately. If the coil is broken, nothing happens. Dead silence. That’s your open circuit, and you’ve confirmed a bad element without a multimeter.
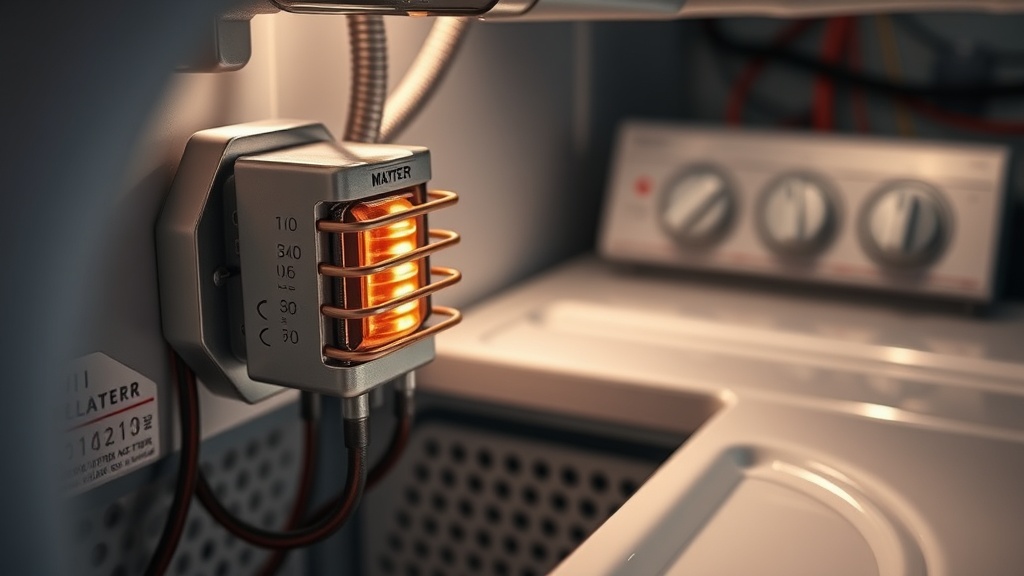
On closer inspection, you can also do this purely visually while the element is still in the housing. Use a bright flashlight and look directly through the vent slots in the heating element canister. A broken coil will show an obvious gap in the nichrome wire — sometimes the two broken ends are visibly separated, sometimes one end curls away from the other. A good element looks like an evenly spaced coil with no breaks. This method won’t catch a grounded element, but it’ll catch the most common failure mode fast.
Here’s What I’ve Seen Go Wrong
In two decades of field work, the single most common mistake I see DIYers make is replacing the heating element first when the real culprit is the thermal cut-off fuse — and that misdiagnosis wastes $30 to $60 every single time.
The thermal cut-off fuse and the main thermal fuse sit on or near the heating element housing on GE dryers. They’re cheap ($5–$15 each) and they fail far more often than the element itself. When someone calls me because their “new element” didn’t fix the problem, nine times out of ten they skipped testing the fuses. The element was fine. The fuse was the open point in the circuit all along.
While you have the element disconnected and in your hands, also examine the element housing for scorch marks or discoloration. A darkened interior wall tells you the coil grounded before it fully failed — in that case, even a visually intact coil may be a shorted element, and the 9V trick may still show apparent continuity while the ground fault remains. This is the limit of the no-multimeter approach, and I’ll be honest with you about it.
I also want to call out a bad piece of advice that circulates in dryer repair forums: the “run the dryer for 30 seconds and feel the air” test as a diagnostic. This is reckless oversimplification. You’re dealing with a 240V appliance with a potentially compromised heating circuit. Running a machine you suspect has an electrical fault without proper diagnosis first is how you get a dryer fire, not a repair. Don’t do it.
If you want to go deeper on component-level diagnosis for dryers and other appliances, the troubleshooting logic guides here break down systematic fault isolation in plain language.
What to Do After You Confirm the Element Is Bad
Once you’ve confirmed the heating element is open, your path forward splits into two options: quick fix for right now, or a permanent repair that addresses the root cause of why the element failed.
The quick fix is a direct replacement element. For most GE residential dryers, the element part number is WE11X10007 or WE11M23, depending on the model. Cross-reference your model number (found on the door frame label) before ordering. Installation is straightforward — reverse what you did during disassembly, reconnect the wire leads, and run a full cycle to confirm heat output.
The permanent fix, though, means understanding why the element failed. Nichrome coils typically last 10–15 years under normal use. If your element failed early, the underlying reason is usually one of three things: restricted airflow from a blocked exhaust duct, a failed cycling thermostat causing the element to run too hot, or actual overloading of the drum over repeated cycles. Fix the root cause, or you’ll replace the element again in three years.
Also replace both the thermal fuse and thermal cut-off fuse while the panel is off. They’re cheap, and if the element failed from overheating, the thermal fuses may be borderline even if they haven’t fully opened yet. Replacing them preventively while you’re already in there is sound maintenance logic, not overkill.
Frequently Asked Questions
Can I test a GE dryer heating element without any tools at all?
The visual inspection method requires nothing but a flashlight and your eyes, and it’s effective for catching physically broken coils. For more reliable results, the 9V battery trick is your next step up — it uses materials most people have lying around. Neither method is as definitive as a multimeter continuity test, but both beat guessing and ordering parts blind.
How do I know if the thermal fuse is the problem instead of the heating element?
Apply the same 9V battery test to the thermal fuse: disconnect it, bridge your battery leads across its two terminals, and check for conductivity. A good thermal fuse will show continuity. An open fuse shows nothing. The thermal fuse is physically much smaller than the element — it’s usually a one-inch white or black cylinder mounted directly on the vent duct or exhaust housing.
Is it safe to test a GE dryer heating element without a multimeter at home?
Yes — as long as the dryer is completely unplugged before you begin. The 9V battery test involves only 9 volts DC, which is completely safe to handle with bare hands. The risk comes from people who attempt live tests while the dryer is still powered. Never test a 240V appliance circuit unless you are a qualified electrician with the proper equipment and training.
The data suggests that most GE dryer no-heat problems are solvable by the average homeowner in under an hour with basic knowledge and zero expensive tools. When you break it down, the circuit is simple — and simple circuits fail in predictable, testable ways.
If you’ve worked through all of this and still can’t isolate the fault, your problem may be upstream: a failed control board, a broken 240V circuit breaker leg, or a wiring harness issue. Those require a different set of tests.
Here’s the question I leave you with: If a simple 9V battery can tell you everything a $50 multimeter can tell you about a heating element — what other appliance diagnostics are being overcomplicated by the repair industry on purpose?
References
- GE Appliances — Dryer Troubleshooting: https://www.geappliances.com/ge/range-oven/troubleshooting.htm
- Sears Home Services — Common GE Dryer No Heat Causes (thermal cut-off fuse 22% failure rate data)
- EPA Section 608 Technician Certification Reference Materials
- RepairClinic — GE Dryer Heating Element Part Cross-Reference