If your stand mixer is making an unusual rhythmic noise, performing a KitchenAid mixer clicking sound DIY phase board repair can restore your appliance to peak performance without an expensive service call. As a Master Industrial Technician with EPA Section 608 Universal Certification and years of hands-on experience diagnosing small appliance motor systems, I can tell you that mechanical timing issues almost always masquerade as catastrophic motor failure — and homeowners replace perfectly good motors as a result. This guide will walk you through the exact diagnostic and repair procedure to silence that click for good.
What Is Actually Causing That Clicking Sound?
The clicking sound in a KitchenAid stand mixer originates from a miscalibrated centrifugal governor or arcing contact points on the phase board — two separate but interdependent systems that work together to regulate motor speed. Identifying which system is at fault is the critical first step before touching any hardware.
KitchenAid stand mixers utilize a mechanical centrifugal governor — a spinning assembly of weighted arms that expand outward under centrifugal force — paired with an electrical phase board to regulate motor speed and torque. This is not a simple on/off switch system; it is a continuously active feedback loop that fires electrical pulses to the motor dozens of times per second. Understanding this architecture is what separates a successful repair from one that creates additional damage.
When the governor weights spin up, they physically push against the phase board to momentarily break the electrical circuit, reducing power to the motor and keeping its RPM within a target range. When the speed drops, the weights retract, the circuit closes, and power is restored. A persistent clicking sound during operation is a strong diagnostic indicator that the governor is improperly calibrated or that the contact points on the phase board are arcing — producing a small electrical spark each time the circuit opens and closes at an incorrect interval.
According to Wikipedia’s detailed entry on centrifugal governors, this technology dates back to steam engine regulation in the 18th century, and the core principle remains identical in modern KitchenAid motors. When the gap between the governor weights and the board contacts is too tight, you get a rapid physical strike and an electrical arc occurring almost simultaneously — the source of that sharp, repetitive click. When the gap is too wide, the motor “hunts,” surging and dropping in RPM erratically because it cannot close the feedback loop fast enough.
Mechanical interference between the governor weights and the phase board assembly does not just create audible clicking; it also leads to premature component wear on the contact points, eventually burning them beyond adjustment and forcing a full phase board replacement. Catching this early with a calibration adjustment is always the preferred course of action.
Safety Protocol Before Any Internal Access
Safety is non-negotiable: the mixer must be completely unplugged from the power source before removing the rear cover or touching any internal electrical components — no exceptions, even for a visual inspection.
This is not boilerplate advice. The phase board operates at line voltage (120V AC in North America), and the capacitors on the board can hold a residual charge even after unplugging. Before you touch anything inside, unplug the unit and wait at least 60 seconds. Place the mixer on a non-conductive surface like a rubber mat or a thick towel. Wear rubber-soled shoes. These are the same precautions I take on industrial motor systems, and they apply equally here.
Gather your tools before you start: a flathead screwdriver (medium blade, approximately 3mm wide), a Phillips screwdriver for the housing screws, and optionally a small flashlight for interior inspection. You do not need a multimeter for the basic calibration, but having one on hand to check for continuity across the brushes is a professional-grade addition to this repair.
Accessing the Phase Board: Removing the Rear Cover
The phase board is accessed through the chrome rear panel of the mixer, secured by a single screw, and reveals the two primary adjustment screws that control the timing of the electrical pulses sent to the motor.
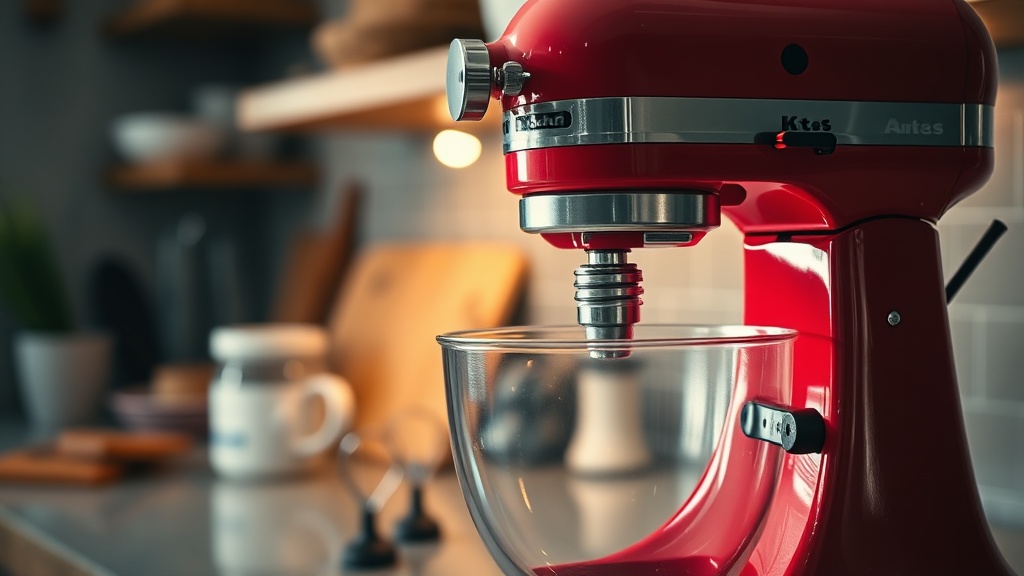
Locate the single screw at the center-bottom of the chrome rear cover on your KitchenAid stand mixer. Remove it with your flathead screwdriver and gently pull the cover away. You will now be looking directly at the phase board assembly — a small circular board mounted concentrically around the rear shaft of the motor, with the governor mechanism visible at its center.
For deeper troubleshooting context that connects this repair to broader appliance logic, the experts at ErrorCodeBypass’s appliance troubleshooting logic hub provide an excellent framework for understanding how electrical and mechanical systems interact in consumer appliances.
The phase board features two primary adjustment screws — typically located at roughly the 10 o’clock and 2 o’clock positions on the board face. These screws function as physical limit stops for the contact points. The left screw (10 o’clock) generally governs the low-speed range calibration, while the right screw (2 o’clock) governs the high-speed range. Some technicians label these as the “open limit” and “close limit” screws respectively. The exact function can vary slightly by model year, so before making any adjustments, use your flashlight to observe the contact points while slowly rotating the governor by hand (with the mixer unplugged) to understand the motion.
DIY Phase Board Calibration: Step-by-Step
DIY repair of the phase board involves adjusting the limit screws in precise quarter-turn increments to ensure the contact points open and close at the correct intervals relative to the governor’s position — a process that requires patience and methodical testing.
- Step 1 — Document the Starting Position: Before turning anything, take a photo of the current screw positions with your phone. This gives you a baseline to return to if an adjustment makes things worse.
- Step 2 — Plug In and Test at Low Speed: With the rear cover removed but not touching any internals, plug in the mixer and run it on Speed 2 for 15 seconds while listening for the click. Note whether the click is faster at low speed, high speed, or constant across all speeds. Unplug immediately after this test.
- Step 3 — Adjust the Appropriate Screw: Based on your test, turn the relevant adjustment screw (low or high speed) by no more than one-quarter turn clockwise. Clockwise typically tightens the gap (bringing the contact points closer together). Counter-clockwise opens the gap.
- Step 4 — Re-Test and Iterate: Plug in, test, unplug, adjust. Repeat this cycle. This is a slow process by design. Rushing it and over-adjusting is the most common DIY mistake I see. One full turn of adjustment can be the difference between a perfectly running motor and a board that arcs continuously.
- Step 5 — Verify Smooth Operation Across All Speeds: Once the clicking is eliminated at one speed range, test across all 10 speeds (or the full speed range of your model). The motor should hold a steady RPM at each setting without surging or hunting.
- Step 6 — Replace the Cover: Once calibration is confirmed, reinstall the chrome rear cover and its single screw. Do not overtighten — the chrome can crack.
Inspecting Carbon Brushes and Governor Wear
If phase board calibration does not eliminate the clicking, worn carbon brushes causing erratic electrical flow are the next most likely culprit — a condition where the motor visibly struggles to maintain a steady RPM, known as “hunting.”
Worn carbon brushes create poor and intermittent contact with the motor’s commutator. This erratic electrical flow produces clicking or hunting symptoms that are nearly identical to a miscalibrated phase board, making correct diagnosis essential before spending money on parts. The carbon brushes are located in two holders on the sides of the motor housing, accessible after removing the motor housing screws.
“Carbon brush wear is one of the most underdiagnosed failure modes in universal AC/DC motors used in consumer appliances. A brush worn to less than 6mm in length will almost always cause commutation arcing that presents as clicking or speed instability.”
— General principle per NEMA Motor Standards MG-1
If the brushes are worn down to less than approximately 6–7mm in length or show uneven wear, replace them as a pair. Never replace only one brush, as mismatched wear creates uneven commutator pressure and accelerates damage. Replacement brushes for KitchenAid mixers are widely available and cost-effective.
Also inspect the governor drive gear — the small plastic or nylon gear that spins the governor assembly. Crack it, chip it, or allow debris to accumulate on it, and the governor will wobble at speed. A wobbling governor creates a mechanical click that no amount of phase board adjustment will fix because the problem is physical, not electrical. Check this gear visually for cracks or missing teeth and replace it if any defects are found.
For reference, the iFixit KitchenAid Stand Mixer repair database maintains a comprehensive parts teardown library that can help you identify the exact governor gear part number for your specific model.
When to Replace the Phase Board Entirely
If the contact points on the phase board show visible burn marks, deep pitting, or carbon buildup that cannot be cleaned, full board replacement is the correct decision — calibration adjustment cannot compensate for physically damaged contacts.
Inspect the contact points under good lighting. A healthy contact point surface is smooth and has a slight burnished appearance. Pitting deeper than approximately 0.5mm, heavy black carbon deposits, or any point where the copper contact material has burned through indicates that the board has exceeded its adjustable service life. Attempting to calibrate a board in this condition will produce diminishing returns and can damage the governor weights through repeated arcing strikes.
Replacement phase boards are available from major appliance parts suppliers. When installing a new board, start with the adjustment screws in their center (factory) position and perform the calibration procedure described above from scratch, as new boards are intentionally shipped with neutral settings.
Frequently Asked Questions
Q: Can I adjust the phase board screws while the mixer is running?
No — and this is a hard rule. While some vintage repair guides suggest running adjustments, the risk of electric shock from the live 120V phase board is significant. Always unplug, adjust by one-quarter turn, replug, and test. This plug-unplug-test cycle is the only safe method, and it is how trained appliance technicians perform this calibration.
Q: How do I know if the clicking is from the phase board or the carbon brushes?
The pattern of the click is your best diagnostic clue. Phase board clicking is typically consistent and rhythmic, tied directly to the speed setting — faster at higher speeds. Carbon brush clicking or arcing tends to be more erratic and irregular, and may be accompanied by a slight burning smell or visible sparking inside the motor housing. Check the brushes first if you see any spark through the motor vents.
Q: Is this repair safe to perform without professional training?
Yes, provided the mixer is fully unplugged during all adjustments. The phase board calibration is a mechanical adjustment of physical screws — there is nothing to solder or rewire. The most important safety rules are: (1) always unplug before reaching inside, (2) wait 60 seconds after unplugging before touching the board, and (3) never work on a wet surface. With those precautions in place, this is a beginner-to-intermediate DIY repair.