- Problem: A stripped nylon worm gear causes the motor to run while the beater stays completely stationary.
- Solution: Replace the KitchenAid Artisan worm gear without specialized tools using a hammer, sturdy nail, and standard screwdrivers.
- Critical Safety Step: Always unplug the mixer and allow it to cool completely before opening any internal housing.
- Key Material: NSF-H1 rated food-grade grease must be used to prevent contamination of the gearbox during reassembly.
- Cost Savings: A DIY worm gear replacement typically costs under $15 in parts, versus $80–$150 for a professional appliance repair service call.
Understanding the KitchenAid Artisan Worm Gear: What It Is and Why It Fails
The KitchenAid Artisan worm gear is a deliberately sacrificial nylon component engineered to strip under overload conditions, protecting the motor from catastrophic and irreversible burnout. This design philosophy makes the worm gear the weakest — and most intentionally replaceable — link in the entire drivetrain.
Learning how to replace the KitchenAid Artisan worm gear without specialized tools is one of the most valuable repair skills a home baker or DIY enthusiast can develop. When your mixer’s motor hums at full volume but the beater refuses to move an inch, the diagnosis is almost always the same: the sacrificial nylon gear has stripped its teeth, doing exactly what it was engineered to do.
The worm gear is a helical nylon component that meshes with a metal worm screw on the motor shaft. Under normal operating loads, it transmits rotational force to the planetary assembly. Under extreme stress — such as mixing stiff bread dough or a double batch of cookie dough — the nylon teeth shear off cleanly. This is not a manufacturing defect. It is a deliberate mechanical fuse. According to engineering principles documented extensively on Wikipedia’s Gear mechanics page, using a softer material as an intentional failure point is a well-established design strategy to protect high-cost components from damage propagation.
The failure mode is also remarkably consistent. Because the motor itself remains fully functional after the gear strips, many owners mistakenly believe the entire motor assembly has failed and discard a mixer that needs only a $12 part and 45 minutes of focused effort. Understanding this distinction is the foundation of a successful repair.
Diagnosing a Stripped Worm Gear: Confirming the Fault Before You Open the Housing
The definitive symptom of a stripped KitchenAid worm gear is an audibly running motor combined with a completely stationary planetary head or beater attachment — any other symptom pattern suggests a different failure point requiring separate diagnosis.
Before committing to a teardown, confirm the failure with a simple functional test. Plug in the mixer, attach a beater, and switch it to Speed 2. If the motor is clearly running — you can hear it and feel faint vibration in the housing — but the beater is entirely motionless or spins loosely with no resistance whatsoever, the worm gear is stripped. A grinding or clicking noise during this test further confirms that broken nylon teeth are rattling inside the gearbox cavity.
Contrast this with a motor that produces no sound at all, which points to an electrical fault such as a failed capacitor or thermal cutout, requiring a completely different repair pathway. For a broader framework of how to logically isolate appliance faults before performing mechanical work, our structured troubleshooting logic guides walk through systematic diagnostic methods applicable to a wide range of household machines.
Also inspect whether the mixer was recently used on an unusually stiff load. Mixing more than approximately 4 pounds of stiff bread dough in a single batch is the single most common cause of worm gear failure in the KitchenAid Artisan model. The design load limits are not arbitrary — they reflect the torque threshold at which the nylon gear is calculated to fail before motor winding temperatures become critical.
Tools and Parts Required: What You Actually Need
Replacing the KitchenAid Artisan worm gear requires only four common household tools and one food-safe lubricant — no specialty pin punches, gear pullers, or appliance repair kits are necessary for a complete and professional-quality repair.
Gather the following before you begin:
- Phillips head screwdriver (medium size, for housing screws)
- Flat-head screwdriver (for prying trim bands and clips)
- Hammer (standard claw or ball-peen, 12–16 oz)
- Large sturdy nail or metal rod (as a substitute pin punch for driving the planetary pin)
- Paper towels or lint-free shop rags (for removing contaminated old grease)
- NSF-H1 rated food-grade grease (such as Lubriplate FML-2 or equivalent)
- Replacement KitchenAid worm gear (verify compatibility with your specific model number, found on the bottom plate)
The nail-as-pin-punch substitution is a practical technique confirmed by experienced appliance technicians. A professional pin punch is simply a hardened steel rod of specific diameter — a large nail of comparable diameter performs the same mechanical function when used with controlled, deliberate hammer taps rather than aggressive blows.
Step-by-Step Disassembly: Accessing the Internal Gear Housing
Accessing the KitchenAid Artisan worm gear requires removing the rear cover screw, the decorative trim band, and the planetary assembly in a specific sequence — skipping any step will prevent the housing from separating cleanly without forced damage.
Follow this sequence precisely:
Step 1 — Secure the Work Area: Place the unplugged mixer on a stable, non-slip surface with adequate lighting. Lay a folded towel underneath to catch any small screws or components that fall during disassembly.
Step 2 — Remove the Rear Cover: Locate the single Phillips screw on the rear panel of the mixer head. Remove it and gently pull the rear cover away from the housing. Set it aside with the screw retained in the cover hole so it does not get lost.
Step 3 — Remove the Decorative Trim Band: The metallic trim ring around the center of the mixer head is secured by a combination of friction clips and, in some models, one or two small Phillips screws hidden beneath the rear cover. Pry gently with a flat-head screwdriver, working around the circumference evenly to avoid bending the band.
Step 4 — Remove the Planetary Assembly Housing Screws: With the trim band removed, you will see four Phillips screws securing the upper housing to the base casting. Remove all four. The motor head will now be loosely attached but still held by the planetary pin.
Step 5 — Drive Out the Planetary Pin: The planetary pin is a friction-fit steel pin that passes laterally through the main shaft housing, locking the planetary assembly in place. Position your nail against the pin’s exposed end and use firm, controlled hammer taps to drive it out from one side. The pin will slide out the opposite side once it clears the housing wall. Keep the pin — you will need it for reassembly.
With the pin removed, the planetary assembly separates from the main shaft, and the upper housing can be lifted away, exposing the gear tower and gearbox cavity below.
Replacing the Worm Gear: The Core Repair Procedure
Once the gearbox is exposed, removing the stripped worm gear and cleaning the cavity of contaminated grease and metallic debris is as critical as installing the new gear itself — skipping the cleaning step will cause the replacement gear to fail prematurely within weeks.
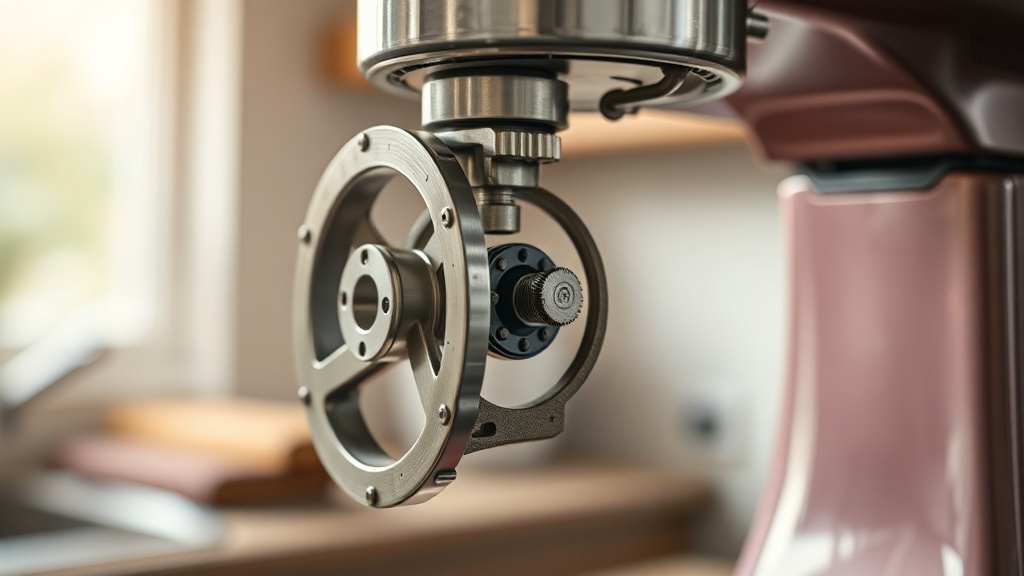
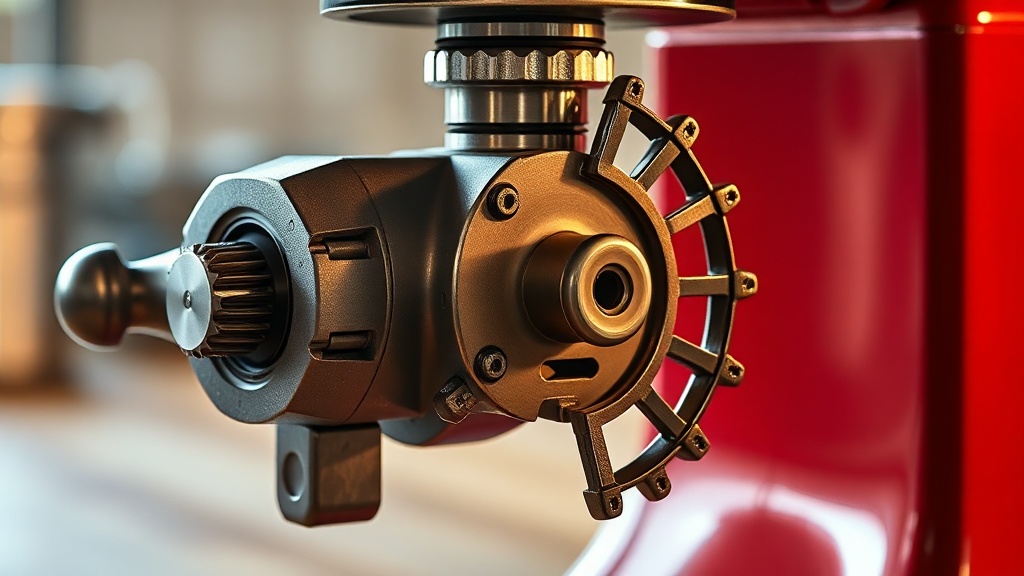
With the housing open, you will see the gear tower — a vertical shaft assembly containing multiple gears, with the nylon worm gear visible as the component meshing directly with the metal worm screw on the horizontal motor shaft. The stripped gear will be visibly missing teeth or show a smooth, polished inner bore where it has spun freely on the shaft.
Remove the worm gear by sliding it off its shaft post. In many Artisan models it is retained by a small circlip or E-clip — use your flat-head screwdriver to carefully pop this retaining ring off before attempting removal, or you risk damaging the shaft.
Next, use paper towels to thoroughly remove all old grease from the gearbox cavity. Old grease in a KitchenAid that has seen years of heavy use will typically appear black or dark brown and will contain visible metallic particles — fine metal shavings ground from the gear meshing surfaces over years of operation. This contaminated mixture is highly abrasive and must be completely removed.
“Contaminated lubricant containing metallic particles acts as a lapping compound rather than a lubricant, accelerating wear at a rate several orders of magnitude higher than clean grease would produce.”
— Machinery’s Handbook, 31st Edition (Industrial Press)
Once the cavity is clean, inspect the metal worm screw on the motor shaft for embedded nylon fragments. Remove any debris with a toothpick or wooden skewer — avoid metal tools that could scratch the hardened steel surface.
Install the new worm gear onto its shaft post, secure the retaining clip, and apply a generous, even coat of NSF-H1 rated food-grade grease to the gear teeth and the interior walls of the gearbox housing. According to NSF International’s lubricant certification standards, H1-rated lubricants are specifically approved for incidental food contact applications — making them mandatory for any food appliance gearbox that sits directly above the mixing bowl.
Reassembly, Testing, and Long-Term Maintenance
Reassembly is the exact reverse of disassembly, with one critical checkpoint: the planetary pin must be driven back in completely flush with the housing surface, as any protrusion will cause the pin to strike internal components at operating speed and destroy the housing.
Lower the upper housing back onto the base casting, aligning all screw holes. Start all four Phillips screws by hand before tightening any of them, ensuring the housing seats evenly. Tighten in a cross pattern to prevent warping the plastic casting.
Reinsert the planetary pin from the same direction it was removed. Use your hammer and nail to tap it back into its friction-fit seat until it sits completely flush. Run your finger across the surface — you should feel no protrusion whatsoever. Reattach the planetary assembly, replace the trim band, and install the rear cover screw.
Before returning the mixer to full kitchen duty, perform a break-in test: run the mixer at Speed 1 for two minutes with no attachment load. This allows the new grease to distribute evenly across all gear meshing surfaces. Listen carefully for any clicking, grinding, or unusual vibration. A properly reassembled mixer will run with smooth, consistent sound at all speed settings.
For long-term reliability, Consumer Reports’ stand mixer maintenance research recommends inspecting gearbox grease consistency every three to five years under normal home use conditions, and immediately after any heavy commercial-style overload event. Proactive maintenance of this single component is the primary factor determining whether a KitchenAid Artisan lasts 10 years or 40 years.
Comparison: DIY Worm Gear Replacement vs. Professional Appliance Repair
| Factor | DIY Replacement (No Special Tools) | Professional Appliance Repair Service |
|---|---|---|
| Average Total Cost | $10–$18 (parts only) | $80–$160 (labor + parts) |
| Time Required | 35–60 minutes | 1–2 week turnaround typical |
| Specialized Tools Needed | None — hammer and nail sufficient | Professional pin punch set, torque tools |
| Grease Replacement Included | Yes — fully user-controlled | Varies by technician — not guaranteed |
| Risk Level | Low with careful procedure adherence | Minimal — professionally managed |
| Warranty Impact | Voids remaining warranty if applicable | May preserve warranty with authorized service |
FAQ
Can I use regular white lithium grease instead of food-grade grease when I replace the KitchenAid Artisan worm gear?
No. Standard white lithium grease is not NSF-H1 certified and contains additives that are not approved for incidental food contact. Because the KitchenAid gearbox sits directly above an open mixing bowl, any grease that migrates past the planetary seal can contaminate food. Always use a grease specifically rated NSF-H1, such as Lubriplate FML-2 or a designated food machinery grease. This is a food safety requirement, not merely a performance recommendation.
How do I know which replacement worm gear part number is compatible with my KitchenAid Artisan model?
Flip the mixer upside down and locate the model number and serial number on the bottom plate label. The Artisan series includes multiple sub-models (e.g., KSM150, KSM155, KSM160) that share the same worm gear part number in most cases, but confirming against your specific model number before purchasing ensures correct fit. The most commonly replaced part is KitchenAid part number WPW10112253 or its OEM equivalent, but always cross-reference your model number with the supplier’s compatibility chart.
How can I prevent the worm gear from stripping again after completing the repair?
The primary cause of repeated worm gear failure is mixing loads that exceed the Artisan’s design capacity. Limit stiff bread dough batches to under 4 pounds per mix, never start the mixer at high speed with a full heavy load already engaged, and always begin mixing at Speed 1 before gradually increasing speed. Additionally, replacing the gearbox grease proactively every five years prevents the grease from drying and hardening, which dramatically increases internal friction and heat — the two conditions that accelerate nylon gear tooth failure under normal loads.
References
- KitchenAid Official Stand Mixer Maintenance Guide
- RepairClinic: Stand Mixer Troubleshooting and Parts Reference
- Wikipedia: Gear Mechanics and Sacrificial Component Design Principles
- NSF International: H1 Food-Grade Lubricant Certification Standards
- Consumer Reports: Stand Mixer Buying Guide and Maintenance Research