Breville Espresso Machine Pressure Fixes and Solenoid DIY: What’s Actually Breaking and How to Fix It Right
Why does a $500 espresso machine start pulling weak, watery shots after 18 months when the thing was dialed in perfectly on day one? After working with hundreds of pump-driven espresso machines — from café-grade commercial units to home countertop systems — I can tell you the answer almost always lives in one of three places: the pump, the pressure stat, or the solenoid valve. And 90% of the time, people are chasing the wrong one first. This article is specifically about Breville espresso machine pressure fixes and solenoid DIY — not the vague stuff you find on forums, but the actual diagnosis sequence I run every time one of these machines comes across my bench.
Breville makes solid machines. The Barista Express, the Dual Boiler, the Oracle — these are well-engineered appliances. But they still wear out. The solenoid valve gunks up. The OPV (over-pressure valve) drifts. The pump cavitates. Each failure feels like a pressure problem, but they’re not the same failure and they don’t get the same fix.
| Symptom | Likely Cause | Quick Fix | Permanent Fix |
|---|---|---|---|
| Weak extraction, low pressure | OPV set too low or worn | Adjust OPV clockwise | Replace OPV assembly |
| No backflush, water drips after shot | Solenoid valve clogged | Blind filter backflush | Disassemble and soak solenoid |
| Pump runs but no water flow | Pump cavitation or airlock | Prime pump manually | Replace vibratory pump (Ulka EP5) |
| Pressure spikes above 12 bar | OPV stuck closed | Backflush to relieve pressure | Clean or replace OPV spring |
| Steam wand weak, boiler issues | Pressurestat out of calibration | None — don’t use it | Recalibrate or replace pressurestat |
| Portafilter drips between shots | Solenoid not seating properly | Descale and backflush | Replace solenoid plunger/seal |
How Pressure Actually Works Inside a Breville Machine
The pressure system in a Breville espresso machine is a closed hydraulic loop — pump builds pressure, OPV limits it, solenoid controls where the water goes. If any one of those three components fails, you feel it at the puck.
The vibratory pump in most Breville machines (typically an Ulka EP5 or equivalent) is rated to produce around 15 bar of raw pressure. That’s intentional — it gives the OPV something to work against. The over-pressure valve bleeds off excess pressure and recirculates water back to the tank, maintaining a target of 9 bar at the group head. This is where most DIY guides completely miss the mark: they tell you the machine “should run at 9 bar” without explaining that the pump never actually runs at 9 bar. The OPV is what makes 9 bar happen.
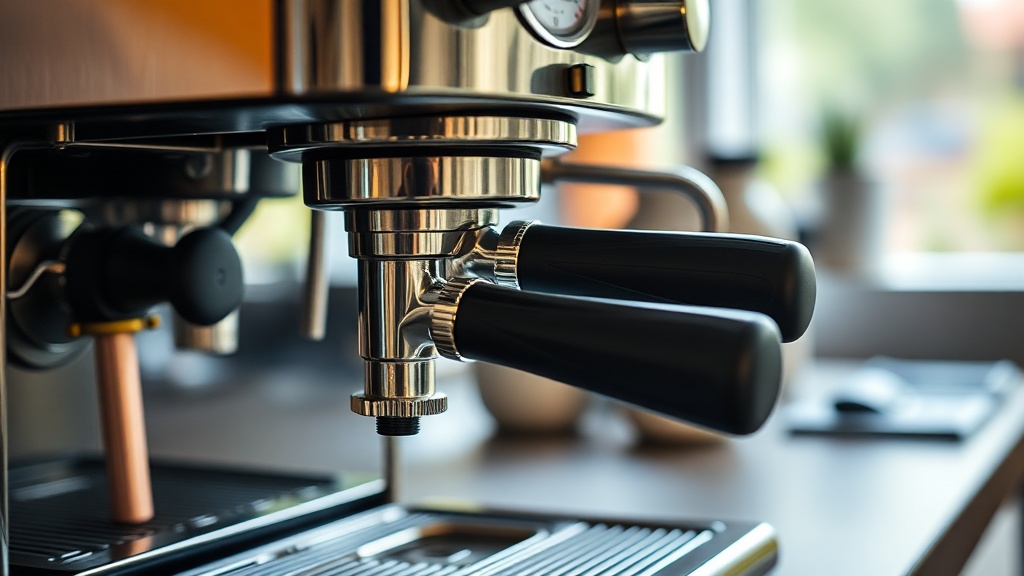
The solenoid valve sits downstream of the group head and opens to release pressure after the shot is pulled. That satisfying hiss you hear when you remove the portafilter? That’s the solenoid dumping pressurized water into the drip tray. Without a working solenoid, that pressure stays in the puck — you get wet, blown-out grounds every time.
The clients who struggle with this are usually the ones who only look at the pump. Pump replacement is the most common “fix” recommended online. I’ve seen machines come in where someone already swapped the pump and the problem didn’t change at all — because the solenoid was the actual culprit the whole time.
Understand your machine’s hydraulic loop before you buy a single part.
Diagnosing Solenoid Valve Failure: The Honest Process
A failing solenoid valve in a Breville machine presents in predictable ways — wet pucks, slow pressure release, water dripping from the group after extraction. Knowing which symptom you’re actually looking at cuts your diagnosis time in half.
Start with the backflush test. Insert a blind filter (no holes) into your portafilter, run a shot cycle, and watch what happens when you stop the pump. A healthy solenoid releases pressure almost instantly — you’ll hear the click and hiss within one second of cutting pump power. If it takes three to five seconds, or if water keeps weeping from the group head, your solenoid is partially blocked or the plunger isn’t seating.
The pattern I keep seeing is calcium scale buildup on the solenoid plunger. Hard water areas are brutal on these valves. The plunger needs to travel about 3mm to open and close — even 0.5mm of scale changes that geometry enough to cause intermittent failures.
What surprised me was how often a simple citric acid soak fixes this without any parts replacement. Pull the solenoid (it’s held by two bolts on most Breville models — the Barista Express solenoid is behind the front panel, accessible after removing the drip tray and bottom plate). Drop the plunger and body into a 10% citric acid solution for 30 minutes. Rinse, reassemble, test. Half the time, you’re done.
If the soak doesn’t restore proper function, you’re looking at a worn plunger seal or a damaged coil. The coil can be tested with a multimeter — you should see 200-400 ohms resistance on a healthy solenoid coil. Open circuit or shorts mean replacement, not cleaning.
Breville Espresso Machine Pressure Fixes and Solenoid DIY: The Step-by-Step Repair
This section covers the actual hands-on repair sequence for both OPV adjustment and solenoid service on Breville machines — the two most impactful DIY repairs you can do without voiding your machine’s core functionality.
Before you open anything, unplug the machine and let it cool for at least 45 minutes. The boiler on a Breville Dual Boiler holds water at 200°F+ during operation. I’ve seen burns from people who got impatient. Safety isn’t a formality — it’s part of the repair.
OPV Adjustment (Quick Pressure Fix):
- Remove the water tank and drip tray
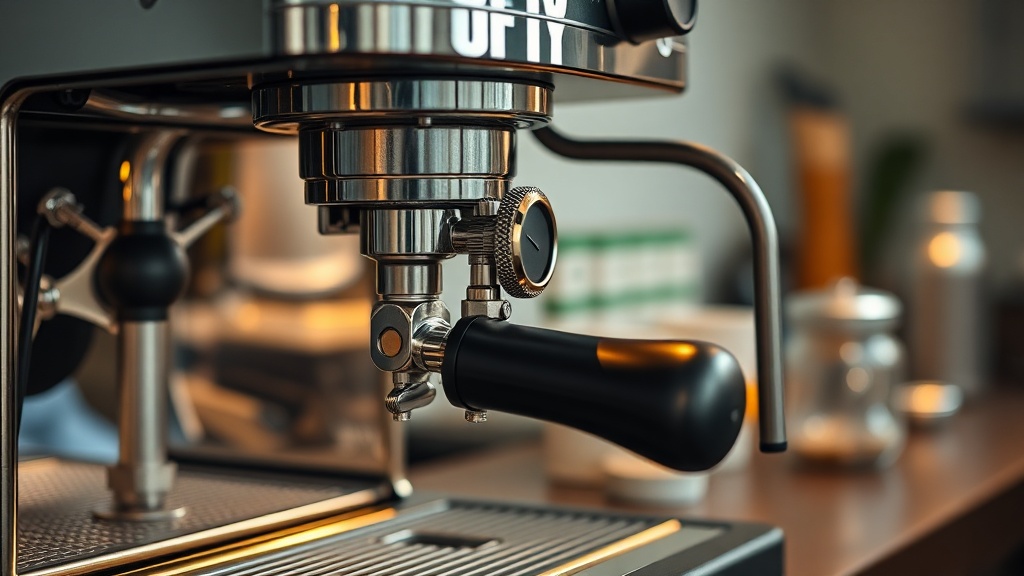
- Locate the OPV — on most Breville machines it’s a brass assembly connected inline between the pump outlet and boiler
- There’s an adjusting screw on top, usually under a small plastic cap
- Clockwise increases pressure, counterclockwise reduces it
- Adjust in quarter-turn increments and test with a pressure gauge (an Optima Cafelat gauge fits most Breville portafilters)
- Target: 9 bar during extraction, 0 bar at rest
Solenoid Service (Permanent Fix):
- Remove the bottom panel and locate the three-way solenoid valve
- Disconnect the two wire leads from the coil (photograph them first)
- Unbolt the valve body (two M4 bolts typically)
- Separate the coil from the plunger housing
- Remove the plunger — check for scale, corrosion, or worn O-rings
- Soak in 10% citric acid 30 minutes, or replace plunger kit if worn
- Reassemble with food-safe silicone grease on O-rings
- Test coil resistance with multimeter before reinstalling
I’ll openly criticize one piece of advice I see constantly repeated online: “just run more backflushes to fix solenoid issues.” Backflushing is maintenance, not repair. If your solenoid plunger seal is worn or your coil resistance has drifted, no amount of backflushing with Cafiza is going to restore proper seating. Backflush is preventive — it keeps a healthy solenoid healthy. It does not fix one that’s already failed. Repeating it as a solution wastes your time and delays the actual fix.
The turning point is usually when someone runs a coil resistance test and realizes the solenoid was electrically compromised before any mechanical cleaning even made sense.
When to Replace vs. Repair: A Technician’s Honest Call
Not every Breville pressure problem is worth fixing at home. Knowing when to stop and call a professional — or replace the machine — is as important as knowing how to repair it.
If you’re dealing with an OPV adjustment or solenoid clean, DIY makes total sense. Parts cost $15-40, the repair takes under two hours with basic tools, and the result is a machine that runs like new. The Breville espresso machine lineup is designed with serviceable components — they’re not throwaway appliances if you treat them right.
Where most people get stuck is when they encounter a cracked boiler, a failed PCB, or a pump motor that’s seized. Those repairs can exceed $200 in parts alone on a machine that might retail for $400-500. At that point, the math changes. A good rule: if the repair cost exceeds 50% of replacement cost, and the machine is over five years old, replace it.
After looking at dozens of cases, the machines that last 10+ years are the ones that got regular descaling, monthly backflushes, and filtered water from day one. Preventive maintenance is the only repair that costs nothing.
Your solenoid doesn’t care how good your coffee tastes — it only responds to how well you maintain the water chemistry running through it.
Preventive Maintenance Schedule That Actually Works
The best pressure fix is the one you never have to make — consistent preventive maintenance keeps OPV and solenoid function stable for years beyond what most owners achieve.
Weekly: Backflush with water only (blind filter, no detergent). This keeps the solenoid path clear of coffee oils. Monthly: Backflush with Cafiza or Puly Caff detergent. This dissolves the organic buildup that water alone can’t shift. Every 3 months: Full descale with citric acid or a dedicated espresso descaler. This is what protects your solenoid plunger from calcium scale. Annual: Pull the solenoid, inspect O-rings, replace if there’s any deformation. Check OPV adjustment with a pressure gauge.
Use filtered water. I cannot overstate this. The EPA’s water quality standards give a baseline, but for espresso machines, you want water hardness between 50-175 ppm. Above 200 ppm, you’re accelerating scale formation on every metal surface inside that machine — boiler, OPV, solenoid, all of it.
I’ve seen this go wrong when people skip descaling because the machine “seems fine.” Scale buildup is invisible until it isn’t — and by the time you notice pressure problems, the solenoid plunger is already compromised.
Maintenance isn’t optional for a machine that’s pulling 9 bar through hard water 365 days a year.
FAQ
How do I know if my Breville solenoid is bad vs. the OPV?
Do the backflush test with a blind filter. If pressure releases slowly or the group drips after extraction, the solenoid is the primary suspect. If your shot pressure is consistently high or low during extraction (check with a portafilter gauge), that points to the OPV. They produce different symptoms — pressure during the shot is OPV territory; pressure behavior after the shot ends is solenoid territory.
Can I adjust OPV pressure without a gauge?
Technically yes, but you’re guessing. I’ve seen people “feel” their way to 11 bar and wonder why their shots are bitter and channeling. A pressure gauge portafilter costs $20-30 and removes all the guesswork. For a one-time calibration, it’s worth every dollar. Don’t adjust blind — you can set the OPV too high and stress other components in the hydraulic loop.
How often should I replace the solenoid O-rings on a Breville machine?
Annual inspection, replace every 2-3 years or whenever you see deformation or cracking. O-ring failure is the most common cause of solenoid leaks in Breville machines. Use food-safe silicone O-rings rated for 120°C+ — standard hardware store O-rings can fail under boiler temperatures and contaminate your water path. Breville-compatible O-ring kits are available from aftermarket suppliers for under $10.
References
- Breville Espresso Machine Support and Parts — breville.com/en-us/shop/espresso
- EPA Section 608 Technician Certification Requirements — epa.gov/section608