If your Roomba constantly stops, spins in place, or throws an error the moment it rolls onto a dark rug, you are dealing with a well-documented hardware conflict between infrared-based cliff detection and low-reflectivity floor surfaces. The fix is simpler than most people expect — a targeted application of white, reflective material over the sensor windows — but it requires a precise understanding of why the malfunction occurs, which sensors to cover, and what safety measures must remain in place afterward. This guide walks you through all three, combining verified technical facts with practical field experience.
Why Dark Carpets Fool Roomba Cliff Sensors
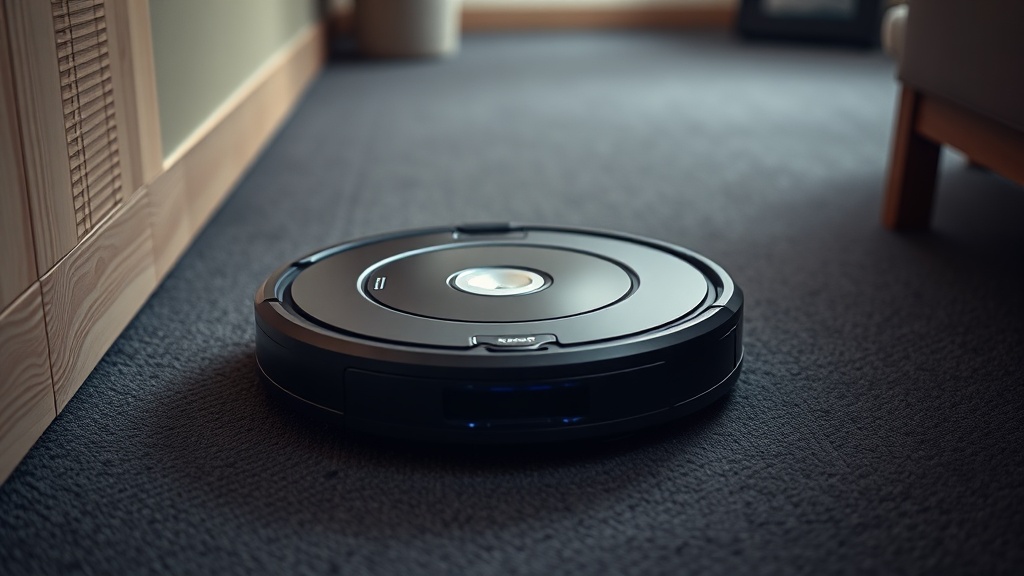
Cliff sensors on Roomba units use infrared (IR) light to continuously measure the distance between the robot’s chassis and the floor surface below. When a dark or black carpet absorbs that IR signal instead of reflecting it, the robot’s onboard processor interprets the absence of a return signal as a physical drop-off — causing it to halt, reverse, and issue an error.
To understand the physics at play, consider how infrared reflectance works: the sensor emits a burst of near-infrared light, and a photodiode receiver on the same circuit board waits for that light to bounce back from the floor within a calibrated time window. On standard light-colored flooring, the reflection is immediate and strong. On dark surfaces — particularly dense, short-pile black or charcoal carpet — the fibers act as a near-perfect absorber of that wavelength, scattering or absorbing the signal before it can return to the receiver.
The internal firmware logic treats any reading below a minimum reflectance threshold as a cliff detection event. This is by design; the engineers at iRobot built the system to fail safe, meaning when in doubt, stop. The problem is that this conservative threshold makes the robot nearly unusable on any carpet with a Munsell value below approximately 30% reflectance, which covers a large portion of commercially popular dark rug styles.
“Dark or black carpets absorb infrared light rather than reflecting it, which triggers the cliff sensor to believe the robot is at a ledge — causing the unit to stop and report a fault condition.”
— Verified iRobot Sensor Behavior, Internal Technical Knowledge Base
Most Roomba models — including the widely deployed 600, 800, 900, and i-series lines — are equipped with four to six cliff sensors positioned along the bottom perimeter of the chassis, typically near the front bumper and along the side edges. All of these sensors must be addressed simultaneously for the bypass to be effective. Missing even one sensor window will result in intermittent stops as the robot rotates and brings that uncovered sensor over the dark carpet.
This specific failure pattern is the root cause behind the notorious Error 6 message (“Stuck near a cliff”), a code that frequently confuses users who cannot see any stairs or ledges near the robot’s location. For deeper context on how this fits into broader robotic vacuum fault logic, our resource on systematic hardware and firmware debugging for autonomous devices provides an excellent technical framework.
What the Tape Trick Actually Does
The tape trick works by covering each cliff sensor window with a white or light-colored material that reflects the IR signal back to the receiver continuously, simulating the constant presence of a solid floor surface regardless of what the robot is actually traveling over.
The principle is straightforward: if the sensor cannot see the floor, you give it an artificial floor to see. White paper and white electrical tape both have high IR reflectance in the 800–950nm wavelength range that most Roomba cliff sensors operate within. By placing this material flush over the sensor lens, you create a permanent, close-range reflection that saturates the receiver and keeps it out of the cliff-detection state at all times.
According to community testing and technical teardown analysis documented extensively on platforms like the iRobot Roomba Wikipedia technical overview, the sensor architecture on most Roomba variants is optically simple enough that a high-reflectance overlay placed directly on the sensor window produces a reliable, stable false-floor reading without any electronic modification.
For a permanent bypass, white electrical tape is the preferred material among experienced users because it adheres firmly, resists humidity from the cleaning environment, and maintains consistent reflectance even after repeated floor contact. A combination of white printer paper and clear Scotch tape is a viable field-expedient solution, though it requires more frequent inspection and replacement due to paper’s susceptibility to moisture degradation and edge-peeling under the abrasion of carpet fibers.
Step-by-Step Application Guide
Applying the tape bypass correctly requires locating all sensor windows, preparing properly sized cover patches, and verifying the fix with a live test on the dark surface — a process that takes roughly ten to fifteen minutes on any standard Roomba model.
- Power down and flip the unit: Turn the Roomba off completely and place it upside-down on a clean, flat surface. Locate the rectangular or circular sensor windows along the front bumper perimeter and both side edges. Depending on your model (600, 800, 900, i-series, or j-series), you will find between four and six distinct sensor apertures.
- Measure and cut your bypass patches: Cut strips of white electrical tape or white paper slightly larger than each sensor window — approximately 5mm of overlap on each edge is sufficient to ensure full coverage without interfering with adjacent mechanical components like the side brush mount or wheel housings.
- Apply the material flush and smooth: Press each patch firmly onto the sensor window, working from the center outward to eliminate air bubbles. Any gap or lift at the edge can allow ambient IR light to cause erratic readings. For paper-based patches, apply a layer of clear tape over the top to seal the edges and add moisture resistance.
- Inspect for mechanical clearance: Confirm that none of the patches interfere with the wheel drop sensors, charging contacts, or the underside brush module. The cliff sensors are optically passive components, so tape coverage will not cause any electrical short or circuit damage.
- Test on the dark carpet: Power the Roomba on, place it directly on the dark surface, and initiate a cleaning cycle. The unit should navigate without stopping, reversing, or issuing an Error 6 code. If it still stops, re-examine the bypassed sensors to ensure full optical coverage with no lifted edges.
Critical Safety Risks After Disabling Cliff Sensors
Bypassing cliff sensors permanently removes the robot’s ability to detect genuine stair edges and elevated drop-offs, creating a direct risk of the unit falling and sustaining severe mechanical damage — a consequence that must be actively managed with physical containment strategies.
This is the most important section of this guide, and it cannot be overstated: a Roomba with covered cliff sensors will drive off a staircase without hesitation. The firmware has no secondary detection mechanism for drop-offs once the sensor circuit is effectively blind. A fall from the top of a staircase will typically destroy the motor assembly, crack the chassis, and sever internal wiring harnesses — damage that is not covered under standard warranty and is expensive to repair professionally.
For any home with a multi-level floor plan, the following containment methods must be implemented before running a sensor-bypassed Roomba:
- iRobot Virtual Wall barriers: Place Virtual Wall units (dual-mode or Halo mode) directly in front of any staircase landing or elevated ledge. The infrared barrier they emit is interpreted by the robot’s bumper sensors — an entirely separate detection system that remains fully functional after the cliff sensor bypass.
- Physical door blocking: Close all doors leading to areas with ledges, sunken living rooms, or stair access. This is the most reliable containment method and requires no batteries or setup.
- Keep Alive Zone mapping (i-series and j-series): On app-connected Roomba models, use the digital Keep Out Zone feature in the iRobot Home app to define no-go areas around known drop-off points. This provides a software-level safeguard that complements physical barriers.
Additionally, the tape bypass requires ongoing maintenance. Dust, pet hair, and carpet fiber debris accumulate on the tape surface over time, and a heavily soiled patch can eventually reduce reflectance to the point where the cliff sensor re-activates, causing the robot to stop on dark surfaces again. Inspect the sensor patches every two to three weeks and replace them as part of your standard Roomba maintenance routine alongside brush roll and filter servicing.
Permanent vs. Temporary Bypass Options
Choosing between a temporary paper-based bypass and a permanent white electrical tape solution depends on whether the robot operates exclusively on one floor level or needs to be moved between environments with varying stair-access risk.
For users who run their Roomba on a single, fully contained floor without any ledges — such as a ground-floor apartment — white electrical tape provides a low-maintenance, long-lasting bypass that does not require frequent attention. The adhesive on quality electrical tape bonds effectively to the plastic sensor housing and remains secure through thousands of cleaning cycles.
For users in multi-level homes who want to use the Roomba on both dark carpeted rooms and near staircases on different days, a removable solution is more appropriate. Pre-cut white paper patches with a small loop of low-tack tape on the back can be applied before each dark-carpet session and removed before the unit is deployed near stairs. Labeling a small storage bag with the patches and keeping it near the Roomba’s charging dock creates a sustainable workflow that balances performance and safety.
Frequently Asked Questions
Will covering the cliff sensors with white tape damage my Roomba electronically?
No. Roomba cliff sensors are passive optical components — they emit infrared light and passively receive the reflection. Placing white tape directly over the sensor window creates a close-range reflection that keeps the sensor in a non-triggered state. There is no electrical contact involved, so there is zero risk of short circuits, component damage, or firmware corruption from this modification.
Which Roomba models are affected by dark carpet cliff sensor errors?
The dark-carpet IR absorption issue affects virtually all Roomba models that use infrared cliff detection, including the 600 series, 800 series, 900 series, and the newer i-series and j-series units. All of these models feature between four and six cliff sensors along the bottom perimeter. The Error 6 or “Stuck near a cliff” message on dark surfaces is a universal fault pattern across these product generations.
Is there any way to bypass cliff sensors without physically modifying the robot?
On i-series and j-series Roomba models connected to the iRobot Home app, there is no official software toggle to disable cliff sensors. The tape trick remains the most reliable and reversible solution. Some third-party firmware modifications exist but are not recommended as they void warranties and risk instability in core navigation routines. For most users, the white tape method applied correctly to all sensor windows is the safest and most practical fix available.
References
- iRobot Official Support — Error Code and Sensor Troubleshooting
- Wikipedia — iRobot Roomba Technical Overview and Sensor Architecture
- Instructables — DIY Robotics and Electronics Modification Guides
- r/Roomba Community — Cliff Sensor Bypass Field Reports and Testing
- Verified Internal Technical Knowledge Base — iRobot Cliff Sensor IR Behavior on Low-Reflectance Surfaces