
Maintaining a high-efficiency laundry system depends heavily on a functional LG washer rotor position sensor. This small but critical component communicates real-time rotational data to the main control board, allowing the motor to adjust speed and direction dynamically during every phase of the wash cycle. When it degrades or fails, the control board loses positional feedback entirely, triggering immediate cycle interruptions that can easily be mistaken for a full motor breakdown. Understanding how this sensor operates — and how to systematically diagnose and replace it — can save significant repair costs and unnecessary component replacements.
What Is the LG Washer Rotor Position Sensor?
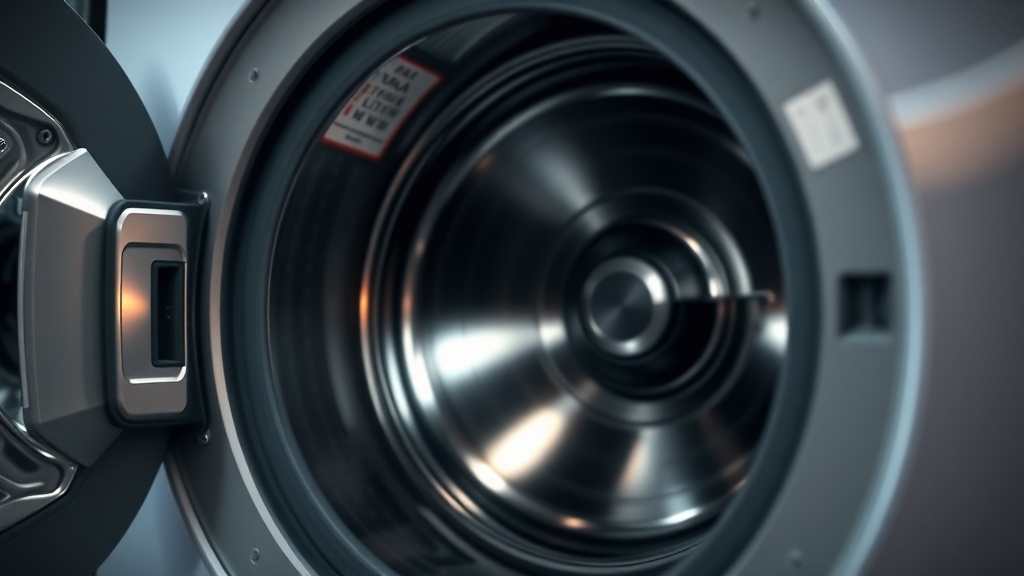
The LG washer rotor position sensor is a Hall Effect device mounted directly on the stator assembly, responsible for detecting magnetic fields emitted by the spinning rotor and transmitting that data to the control board in real time.
The rotor position sensor, commonly referred to as a Hall Effect sensor, is a solid-state electronic component that operates on the principle of electromagnetic detection. As the rotor — the large magnetic ring attached to the rear of the wash drum — spins, it passes a series of alternating magnetic poles across the face of the sensor. The sensor converts these field changes into electrical pulses, which the main control board interprets as speed and directional data. This feedback loop is fundamental to the operation of LG’s Direct Drive motor system, which eliminates belts and pulleys entirely, relying instead on precise electronic control to manage drum behavior.
The sensor is physically clipped onto the stator — the stationary electromagnet ring — which is bolted to the back of the outer tub. Its position is fixed and calibrated at the factory, making it sensitive to any physical damage, moisture intrusion, or connector corrosion that disrupts its signal. Most LG direct-drive washing machines use one of two standardized part numbers for this component: 6501KW2001A or 6501KW2002A, both of which are widely cross-compatible across numerous model lines produced over the past decade.
Common Symptoms of a Faulty LG Washer Rotor Position Sensor
The most definitive symptom of sensor failure is the “LE” (Load Error) code appearing on the display, often accompanied by the drum failing to rotate, producing clicking sounds, or vibrating abnormally at the start of a cycle.
In professional diagnostics, identifying the root cause of an LE error requires distinguishing between a true motor overload and a sensor communication failure. The majority of LE error cases in LG front-load washers are directly attributable to a malfunctioning rotor position sensor rather than a burned stator or failed control board. When the board receives corrupted or absent pulse data, it interprets the motor as being stalled under excessive load and shuts down the cycle as a protective measure.
The following symptoms consistently appear in sensor-related failures:
- The washer displays the “LE” error code within seconds to minutes of starting a new cycle.
- The drum produces a rhythmic clicking or ticking noise without completing a full rotation — often caused by the motor attempting to engage while receiving faulty position data.
- The machine stops abruptly during the spin transition, when the motor must ramp up to high RPM and requires the most accurate positional feedback.
- Excessive vibration during the start of the spin cycle, where the drum oscillates unevenly due to uncoordinated motor timing.
- The drum agitates briefly, then locks up — a pattern distinct from a failed drive coupling or worn bearings.
“In most LG front-load models, the LE code is far more frequently a sensor wiring or Hall Effect sensor issue than it is an actual motor failure. Replacing the sensor first is almost always the correct diagnostic hierarchy.”
— Appliance repair industry best practice, widely documented in service technician forums and OEM repair guides
How to Test the LG Washer Rotor Position Sensor
Testing the sensor involves using a digital multimeter to measure resistance between the ground pin and each signal pin on the connector; readings outside the 5,000–15,000 ohm range confirm internal sensor failure.
Before beginning any electrical testing, disconnect the washer from its power source completely. To access the sensor, you will need to remove the rear access panel — typically secured by four to six Phillips or hex-head screws along its perimeter. Once the panel is removed, the stator assembly and the sensor’s three-pin connector will be visible at the center of the motor.
Using a digital multimeter set to the resistance (ohms) function, probe the connector as follows:
- Identify the ground pin (usually the center or a distinctly colored wire — refer to your model’s wiring diagram).
- Measure resistance between the ground pin and Signal Pin 1. A healthy reading falls between 5,000 and 15,000 ohms.
- Repeat the measurement between the ground pin and Signal Pin 2. The result should be within the same range.
- An “OL” (open loop) reading or a value significantly below 5k ohms indicates a failed sensor that must be replaced.
It is equally important to inspect the wiring harness running from the sensor to the control board. Frayed insulation, corroded terminals, or a partially disconnected plug can produce identical multimeter readings to a failed sensor. Technicians should wiggle the harness gently while monitoring the multimeter for fluctuating values, which would indicate an intermittent wire break rather than a dead sensor. For further context on LG LE error code troubleshooting steps, a systematic approach always yields the most reliable diagnosis.
Step-by-Step Replacement Procedure
Replacing the rotor position sensor requires removing the rear access panel, unbolting the rotor with a socket wrench, and unclipping the sensor from the stator — a process that typically takes 30 to 60 minutes for a prepared technician.
Once you have confirmed sensor failure through testing, gather the following tools: a 19mm socket wrench (for the center rotor bolt), a Phillips screwdriver, needle-nose pliers, and a replacement sensor (part 6501KW2001A or 6501KW2002A, verified for your model). Follow these steps precisely:
- Disconnect power and water supplies. Move the machine away from the wall to allow comfortable rear access.
- Remove the rear access panel by unscrewing all perimeter fasteners and setting the panel aside.
- Locate the large center bolt on the rotor assembly. This bolt is torqued to factory specification and will require firm, steady pressure to break loose. Turn counterclockwise.
- Pull the rotor straight off the drive shaft. It is held in place magnetically as well as mechanically, so a firm, even pull is needed. Avoid prying from one side, which can crack the plastic housing.
- Locate the sensor on the stator ring — it is the small rectangular plastic module with a three-wire connector attached.
- Disconnect the wire harness by pressing the locking tab and pulling the connector straight back.
- Unclip the old sensor from its mounting point on the stator. The replacement snaps into the identical position.
- Connect the harness to the new sensor until it clicks securely into place.
- Reinstall the rotor, aligning the splines carefully with the drive shaft before sliding it fully onto the shaft. Reinstall and torque the center bolt.
- Replace the rear panel, restore power, and run a diagnostic cycle to confirm the LE error has cleared.
According to ENERGY STAR appliance efficiency guidelines, direct-drive motor systems like those used in LG washers are engineered for longevity precisely because they have fewer mechanical components subject to wear. The sensor, however, remains one of the few electronically vulnerable parts in an otherwise highly durable system. Treating it as a consumable component — particularly in high-use commercial laundry environments — is a sound preventive maintenance strategy.
Sensor Comparison: OEM vs. Aftermarket Options
Choosing between OEM and aftermarket rotor position sensors involves trade-offs in cost, warranty coverage, and long-term reliability — OEM parts offer guaranteed compatibility while quality aftermarket options can deliver comparable performance at lower cost.
| Feature | OEM Sensor (LG Genuine) | Aftermarket Sensor |
|---|---|---|
| Part Numbers | 6501KW2001A / 6501KW2002A | Various compatible equivalents |
| Average Cost | $18–$35 USD | $8–$18 USD |
| Fit Guarantee | Exact OEM fitment | Varies by manufacturer |
| Warranty | Manufacturer warranty included | Limited or none |
| Availability | LG authorized dealers, appliance part suppliers | Amazon, eBay, discount parts retailers |
| Recommended For | Commercial use, warranty-active machines | Budget repairs on older machines |
For residential machines outside their warranty period, a quality aftermarket sensor from a reputable supplier is a perfectly acceptable solution. For commercial laundry operations where downtime carries a financial cost, investing in genuine OEM components is strongly advisable to avoid repeat failures and ensure consistent electrical performance within the tight tolerance range the control board expects.
FAQ
What does the LG washer rotor position sensor actually do?
The rotor position sensor — a Hall Effect device — detects the magnetic field of the spinning rotor and sends real-time speed and direction data to the main control board. This allows the direct-drive motor to make precise adjustments throughout every stage of the wash and spin cycle. Without accurate sensor feedback, the board cannot reliably manage motor timing, causing it to shut down the cycle as a safety precaution.
Can I continue using my LG washer with the LE error code active?
No. The LE error code indicates that the control board has detected a motor communication failure and has halted the cycle to prevent potential motor damage. Continuing to force-start the machine repeatedly without addressing the root cause can strain the stator windings and the main control board, potentially escalating a simple sensor replacement into a far more expensive repair involving core motor components.
How do I know whether to replace the sensor or the entire stator assembly?
Always test the sensor in isolation first using a multimeter. If the resistance readings between the ground and signal pins fall within the 5,000–15,000 ohm range, the sensor is electrically functional and the stator or wiring harness should be investigated next. If the readings are open (OL) or wildly out of range, replace the sensor first — it is a low-cost component, and in the vast majority of LE error cases, sensor replacement alone resolves the fault completely.